38x Faster Garlic Breadsticks: Air Fryer Magic You Need Now
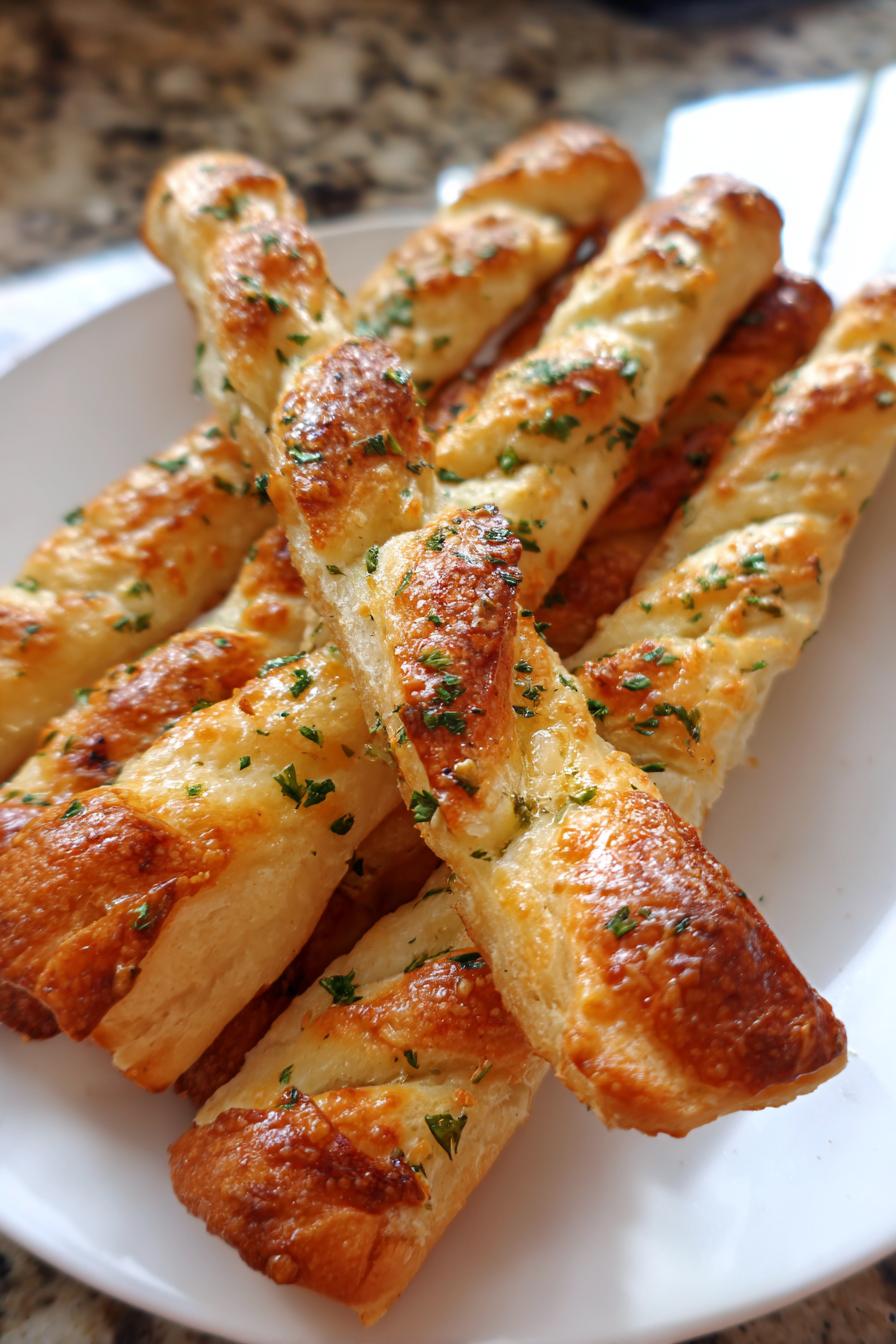
Oh my gosh, you have to try these air fryer garlic breadsticks! I was skeptical at first—could they really get that perfect crispy-on-the-outside, soft-on-the-inside texture without an oven? Turns out, yes! And in just 8 minutes flat. These became my go-to last-minute appetizer after one desperate “I forgot to bring something to the potluck” moment. Now my friends beg me to make them every game night. The secret? That garlicky butter brush at the end—it makes them taste like they came from your favorite Italian restaurant, but with half the effort and zero heating up the whole kitchen.
Why You’ll Love These Air Fryer Garlic Breadsticks
Trust me, these breadsticks are about to become your new obsession—here’s why:
- Crispy perfection in minutes: No waiting for the oven to preheat—just 8 minutes in the air fryer and boom, golden-brown magic.
- No oven, no problem: Keep your kitchen cool while still getting that irresistible bakery-style crunch.
- Pantry-friendly ingredients: Flour, water, a few spices—that’s it! (Okay, plus garlic butter because…duh.)
- Impressively easy: Even if you’ve never made bread before, this dough comes together like a dream.
Seriously, once you taste that first warm, garlicky bite, you’ll wonder how you ever lived without them.
Ingredients for Air Fryer Garlic Breadsticks
Here’s the beautiful part—you probably have most of this in your pantry right now! Just grab:
- Dry team: 1 cup all-purpose flour, 1 tsp baking powder, ½ tsp salt (trust me, skip it and they’ll taste like cardboard)
- Wet squad: ½ cup warm water, 2 tbsp olive oil (the good stuff you drizzle on salads)
- Garlic butter glory: 2 cloves garlic (minced fine!), 1 tbsp melted butter, 1 tsp dried parsley (or fresh if you’re feeling fancy)
That’s it! No weird binders, no obscure spices—just honest ingredients that turn into magic.
How to Make Air Fryer Garlic Breadsticks
Okay, let’s get these golden beauties going! I promise, it’s so simple you’ll laugh—but the results will have everyone thinking you’re a kitchen wizard.
Prepare the Dough
Grab your biggest mixing bowl and dump in the flour, baking powder, and salt. Give it a quick whisk—just enough to say “hello” to all the ingredients. Now, pour in the warm water and olive oil all at once. Here’s my trick: use a fork at first to bring it together, then get in there with your hands when it starts forming clumps. Knead it for about 30 seconds—just until it’s smooth and not sticky (add a pinch more flour if needed). Let it rest for 5 minutes while you prep the air fryer. This little nap makes the dough way easier to roll out!
Shape and Air Fry
Divide your dough into 6 equal pieces—I eyeball it, but you can use a scale if you’re feeling precise. Roll each piece into a stick about the length of your palm (they’ll puff up, so don’t stress about perfect logs). Pop them in your air fryer basket with some breathing room—they shouldn’t touch. No need to preheat! Just set it to 375°F for 8 minutes total, flipping them halfway like you’re turning bacon. You’ll know they’re done when they’re lightly golden and sound hollow if you tap them.
Add Garlic Butter Finish
While those bake, mix up your garlic butter: melted butter, minced garlic (press it if you want extra punch!), and parsley. The second the breadsticks come out, brush this glorious mixture all over them—it’ll sizzle and soak right in. Serve immediately because (a) they’re best piping hot, and (b) good luck keeping anyone from grabbing them off the plate anyway!
Tips for Perfect Air Fryer Garlic Breadsticks
Here’s my hard-won wisdom for breadstick success! First, your dough should feel like play-doh—not too sticky, not too dry. If it sticks to your fingers, add just a sprinkle more flour. Don’t skip flipping halfway—that’s what gives you even crispiness! And if your sticks are thicker than mine, add an extra minute or two. Watch them like a hawk near the end—they go from golden to dark fast!
Variations for Air Fryer Garlic Breadsticks
Oh, the possibilities! Once you’ve mastered the classic, try these fun twists:
- Cheese explosion: Sprinkle shredded parmesan or mozzarella in the last 2 minutes of cooking—watch it bubble!
- Herb remix: Swap parsley for rosemary or oregano in the butter for a different flavor vibe.
- Spicy kick: Add a pinch of red pepper flakes to the garlic butter—your taste buds will thank you.
My personal favorite? Everything bagel seasoning—it’s life-changing on these!
Serving Suggestions
These garlicky beauties are perfect dunked in warm marinara (my go-to!), but they also shine alongside minestrone or a crisp Caesar salad. Pro tip: double the batch—they disappear faster than you can say “more please!”
Storing and Reheating
Got leftovers? (Unlikely, but just in case!) Pop cooled breadsticks in an airtight container—they’ll stay fresh for up to 2 days. When cravings strike again, 2 minutes in the air fryer at 350°F brings back that just-made crispiness. No soggy breadsticks on my watch!
Air Fryer Garlic Breadsticks Nutrition
Let’s talk numbers—each golden breadstick comes in at about 120 calories, with 4g of fat (that butter does its job!). They pack 3g protein and 18g carbs to keep you satisfied. Important note: Nutrition info is just an estimate since actual amounts can vary based on your exact ingredients and portion sizes. But hey, with flavors this good, who’s counting?
Similar Posts
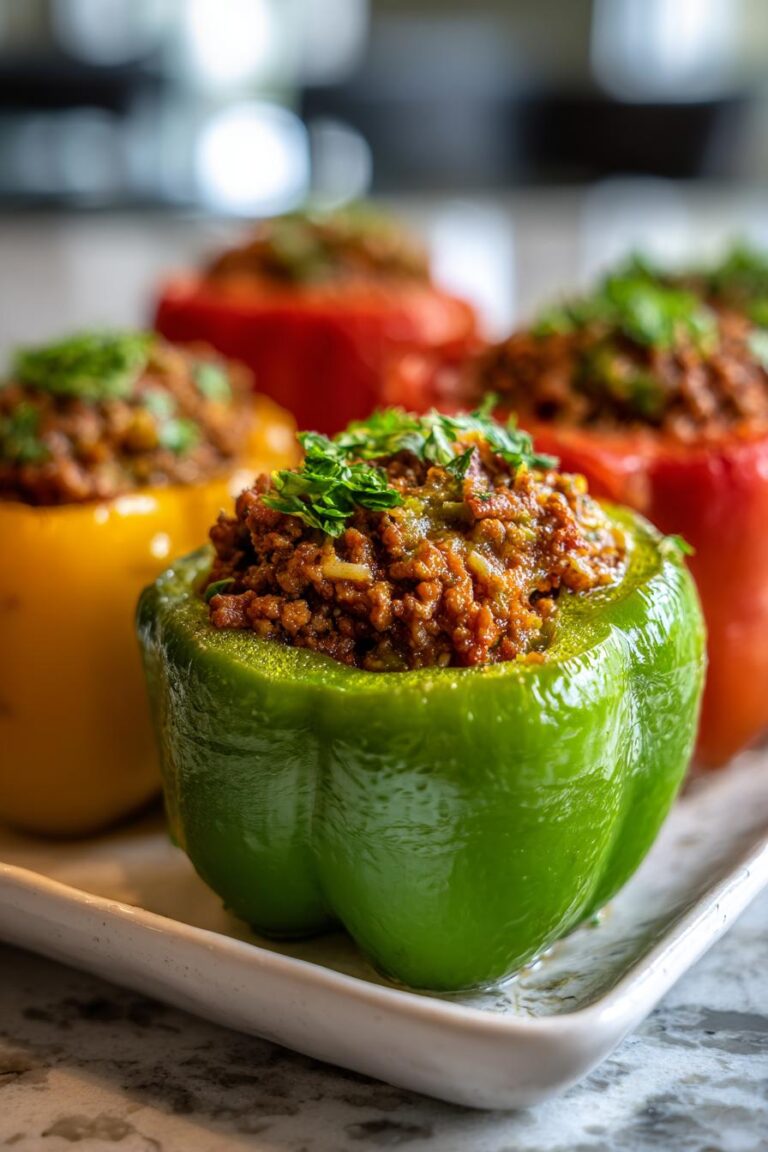
Irresistible Keto Stuffed Bell Peppers Recipe in 4 Steps
Let me tell you about my go-to keto dinner that’s as delicious as it is easy—keto stuffed bell peppers! I’ve been making these for years, and they’re a lifesaver when I’m craving something hearty but still low-carb. The vibrant bell peppers are the perfect vessel for a savory filling of ground beef, garlic, and spices,…

Irresistible Low Carb Chicken Alfredo Spaghetti Squash
Oh my gosh, you have to try this low carb chicken alfredo spaghetti squash recipe – it’s my absolute favorite way to enjoy all that creamy, garlicky goodness without the carb crash! I swear, the first time I made this, my husband didn’t even realize he wasn’t eating pasta. That spaghetti squash transforms into these…
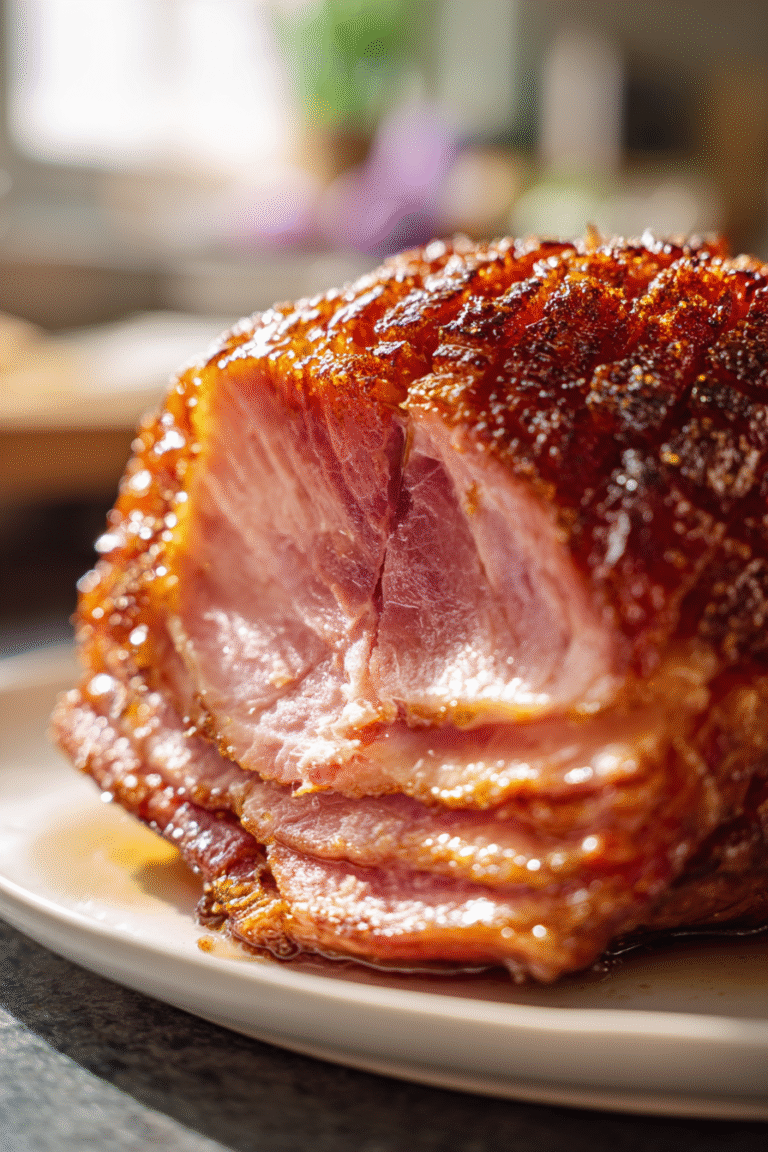
Keto Holiday Glazed Ham: A Delicious Low-Carb Feast!
Introduction to Keto Holiday Glazed Ham As the holiday season approaches, I find myself dreaming of festive feasts that bring family and friends together. This Keto Holiday Glazed Ham is not just a dish; it’s a centerpiece that sparks joy and conversation. With its sweet and savory glaze, it’s a quick solution for busy days…

Low-Carb Sausage Zucchini Snack Boats You’ll Love!
Introduction to Low-Carb Sausage Zucchini Snack Boats As a busy mom, I know how challenging it can be to whip up something delicious and healthy in a pinch. That’s where these low-carb sausage zucchini snack boats come in! They’re not just a quick solution for a hectic day; they’re also a delightful way to impress…
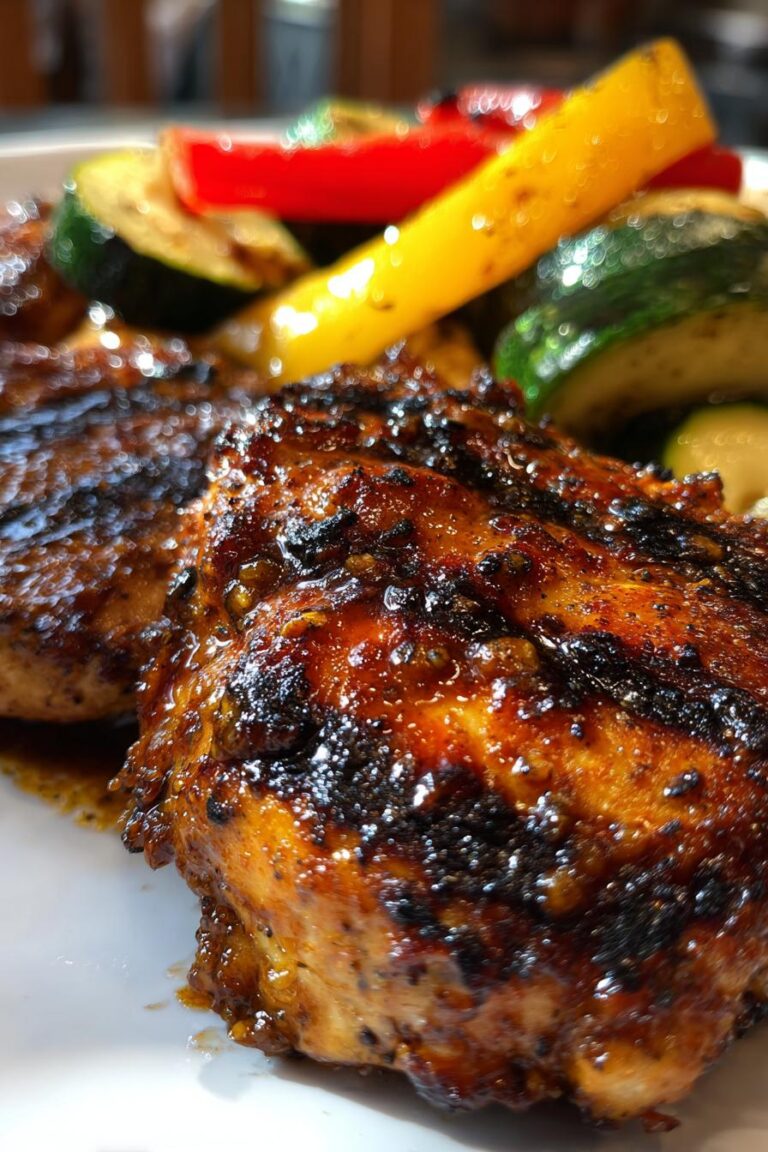
50-Character Caribbean Jerk Marinade Recipe
Oh my gosh, let me tell you about the first time I tried real Caribbean jerk marinade – it was like a flavor explosion in my mouth! I was at a tiny beachside grill in Jamaica, watching the cook slather this incredible spicy-sweet sauce onto chicken that sizzled over smoky pimento wood. The smell alone…

Cheddar Garlic Herb Potato Soup: A Creamy Delight Awaits!
Introduction to Cheddar Garlic Herb Potato Soup As the days grow shorter and the evenings chillier, there’s nothing quite like a warm bowl of Cheddar Garlic Herb Potato Soup to wrap you in comfort. I remember those busy weeknights when I needed a quick solution for dinner that would please everyone. This creamy delight is…