Instant Pot Yogurt Starter: Create Creamy Yogurt Fast!
Introduction to Instant Pot Yogurt Starter
As a busy mom, I know how precious time can be, especially when it comes to meal prep. That’s why I absolutely love my Instant Pot Yogurt Starter! It’s a quick solution for those hectic days when you want something nutritious and delicious without spending hours in the kitchen. Making creamy yogurt at home not only saves money but also allows you to control the ingredients. Plus, there’s something incredibly satisfying about creating your own yogurt. Trust me, your family will be impressed when you serve them a bowl of homemade goodness!
Why You’ll Love This Instant Pot Yogurt Starter
This Instant Pot Yogurt Starter is a game-changer for busy lives. It’s incredibly easy to make, requiring just a few simple ingredients and minimal hands-on time. You can set it and forget it while you tackle your to-do list. The taste? Oh, it’s creamy and rich, far superior to store-bought options. Plus, you can customize it with your favorite flavors, making it a delightful treat for everyone in the family!
Ingredients for Instant Pot Yogurt Starter
To whip up your own creamy yogurt, you’ll need just a couple of key ingredients. Here’s what you’ll be gathering:
- Milk: You can use any type of milk you prefer—whole, 2%, or skim. Each will yield a slightly different texture and flavor, so feel free to experiment!
- Yogurt Starter: This is where the magic happens! Look for plain yogurt that contains live active cultures. It’s the secret ingredient that transforms milk into yogurt. You can also use a store-bought yogurt or a previous batch of your homemade yogurt as a starter.
For those who want to get creative, consider adding flavorings like vanilla extract or honey after the yogurt has set. You can also mix in fruits or nuts for a delightful twist. If you’re looking for a dairy-free option, try using almond or coconut milk, but make sure to check for live cultures in your yogurt starter!
Exact quantities for these ingredients are available at the bottom of the article for easy printing. Happy cooking!
How to Make Instant Pot Yogurt Starter
Making your own yogurt at home is easier than you might think! Follow these simple steps, and you’ll be on your way to creamy, delicious yogurt in no time. Let’s dive in!
Step 1: Prepare the Milk
Start by pouring one quart of your chosen milk into the Instant Pot. If you’re using whole milk, get ready for a rich and creamy texture. For a lighter option, 2% or skim works just fine. Give it a gentle stir to ensure it’s well mixed. This is the foundation of your yogurt, so make sure it’s fresh!
Step 2: Set the Instant Pot
Close the lid of your Instant Pot and select the ‘Yogurt’ function. Set the timer for 8 hours. Yes, it sounds like a long time, but this is where the magic happens! The Instant Pot will maintain the perfect temperature for the cultures to thrive. You can go about your day while it works its wonders!
Step 3: Add the Yogurt Starter
Once the initial 8 hours are up, it’s time to add the yogurt starter. Open the lid and give the milk a quick stir. Then, add 2 tablespoons of plain yogurt with live cultures. This is the key to transforming your milk into yogurt. Stir gently to combine, but don’t overdo it. You want those cultures to do their job!
Step 4: Finalizing the Yogurt
Close the lid again and set the ‘Yogurt’ function for another 8 hours. This second fermentation is crucial for developing that tangy flavor we all love. If you prefer a thicker yogurt, you can strain it later using cheesecloth. Just be patient; the wait will be worth it!
Step 5: Refrigerate and Serve
After the second cycle is complete, carefully remove the lid. Your yogurt should look thick and creamy. Transfer it to containers and refrigerate for at least 4 hours before serving. This chilling time helps it set even more. When you’re ready to enjoy, feel free to add your favorite toppings like fruits, granola, or a drizzle of honey!
Tips for Success
- Use fresh milk for the best flavor and texture.
- Make sure your yogurt starter has live active cultures for successful fermentation.
- For thicker yogurt, strain it using cheesecloth after it’s done.
- Experiment with different types of milk to find your favorite consistency.
- Don’t rush the chilling time; it enhances the yogurt’s creaminess!
Equipment Needed
- Instant Pot: The star of the show! Any model with a yogurt function will do.
- Measuring Cups: For accurate milk and yogurt starter measurements.
- Containers: Glass or plastic containers for storing your yogurt.
- Spoon: A simple spoon for stirring the milk and yogurt starter.
Variations
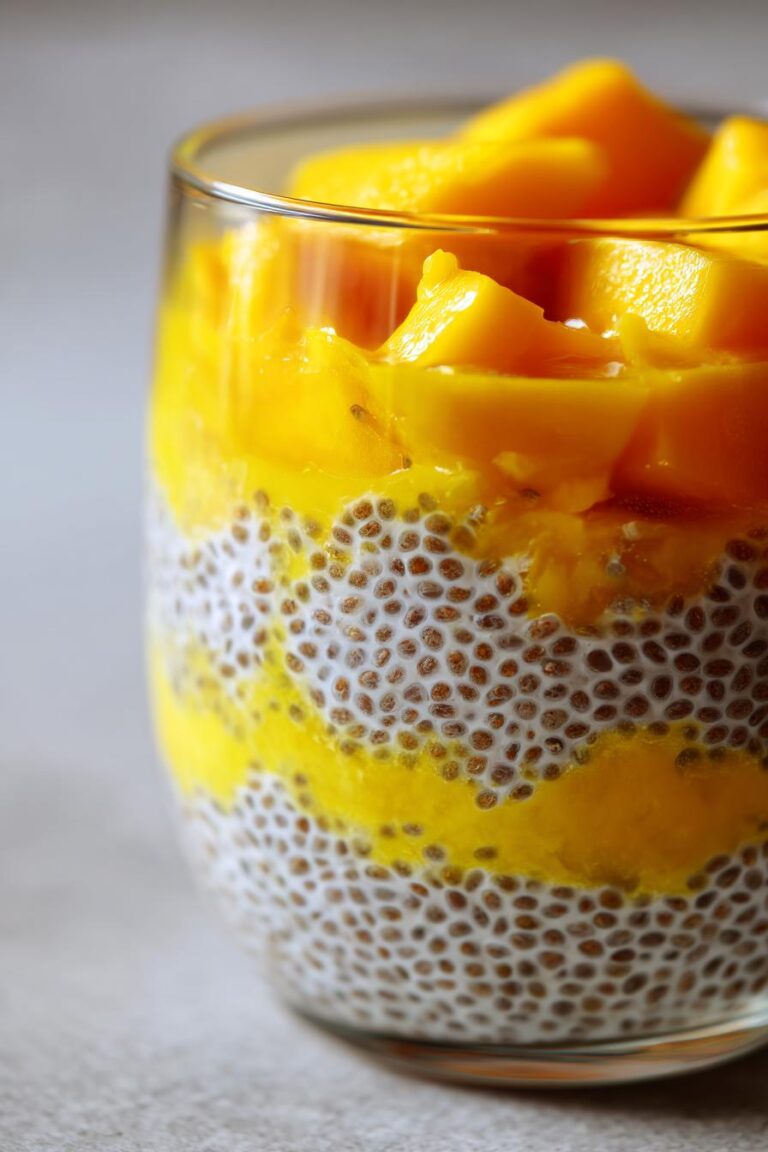
- Fruit-Infused Yogurt: Add pureed fruits like strawberries or mangoes after the yogurt has set for a refreshing twist.
- Honey or Maple Syrup: Sweeten your yogurt naturally by mixing in honey or maple syrup before serving.
- Nutty Delight: Stir in chopped nuts or seeds for added crunch and nutrition.
- Herbed Yogurt: For a savory option, mix in fresh herbs like dill or chives to create a delicious dip.
- Dairy-Free Version: Use almond, coconut, or soy milk as a base, ensuring your yogurt starter has live cultures.
Serving Suggestions
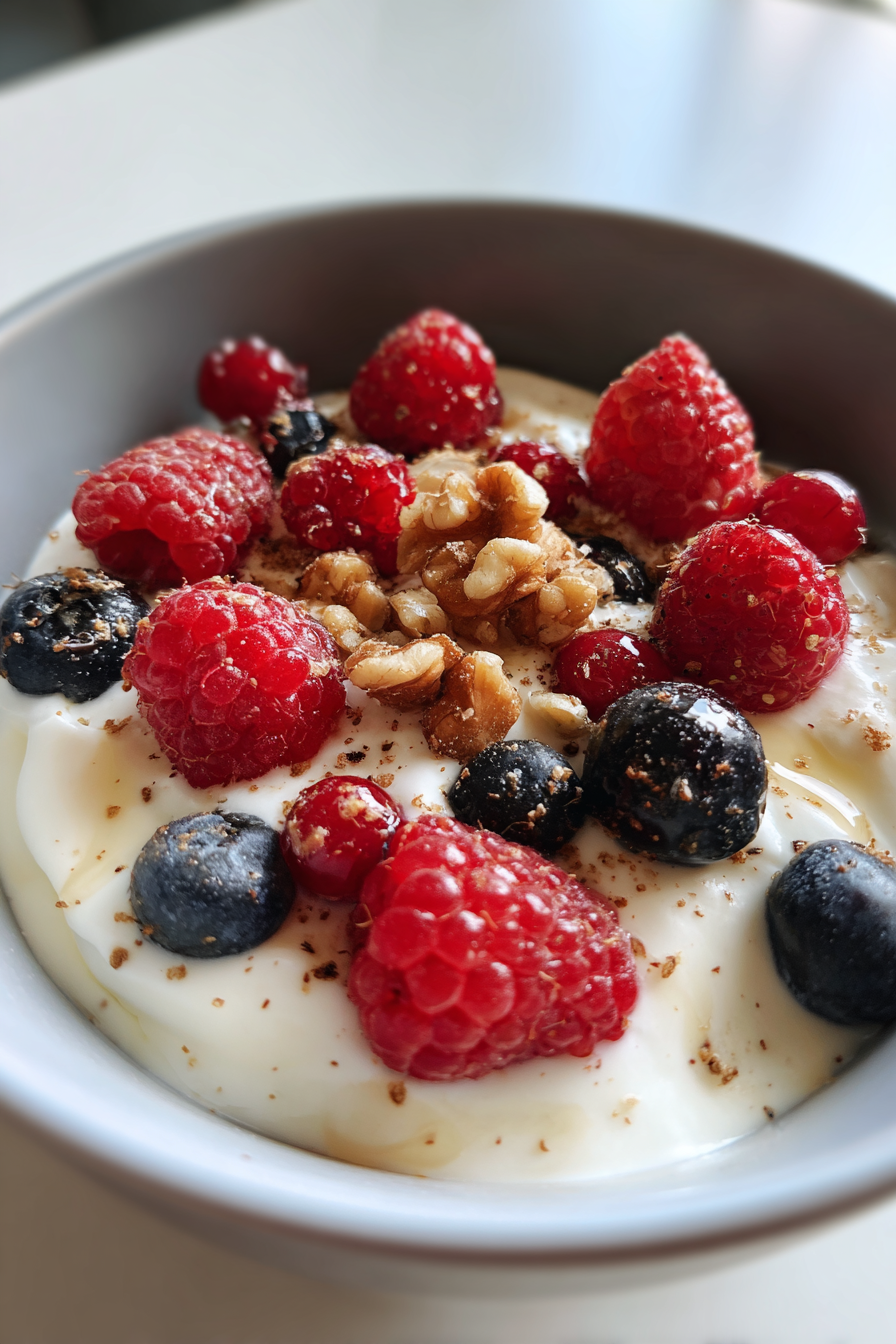
- Breakfast Bowl: Serve your yogurt topped with fresh fruits, granola, and a drizzle of honey for a wholesome breakfast.
- Smoothie Base: Use yogurt as a creamy base for smoothies, blending it with your favorite fruits and greens.
- Dip Delight: Pair herbed yogurt with veggie sticks for a refreshing and healthy snack.
- Parfait Perfection: Layer yogurt with berries and nuts in a glass for a beautiful presentation.
FAQs about Instant Pot Yogurt Starter
Can I use any type of milk for my Instant Pot Yogurt Starter?
Absolutely! You can use whole, 2%, or skim milk. Each type will give you a different texture and flavor, so feel free to experiment until you find your favorite!
What if my yogurt doesn’t thicken?
If your yogurt isn’t thickening, it might be due to the yogurt starter not having enough live cultures. Make sure to use a high-quality plain yogurt as your starter. You can also strain it using cheesecloth for a thicker consistency.
How long can I store homemade yogurt?
Your homemade yogurt can be stored in the refrigerator for up to two weeks. Just make sure to keep it in airtight containers to maintain freshness!
Can I flavor my yogurt after it’s made?
Yes! Once your yogurt has set and chilled, you can mix in flavors like vanilla extract, honey, or fresh fruits. This is a great way to customize your yogurt to suit your family’s tastes!
Is it safe to eat homemade yogurt?
Yes, as long as you follow the recipe and use fresh ingredients, your homemade yogurt is safe to eat. Just ensure that your yogurt starter contains live active cultures for the best results!
Final Thoughts
Creating your own Instant Pot Yogurt Starter is not just about making yogurt; it’s about embracing a delightful culinary adventure. The joy of watching simple ingredients transform into creamy goodness is truly rewarding. Plus, it’s a fantastic way to bond with your family over healthy meals. Whether you enjoy it for breakfast, as a snack, or in a recipe, homemade yogurt brings a sense of accomplishment and satisfaction. So, roll up your sleeves, gather your ingredients, and dive into this easy process. You’ll be amazed at how quickly you can enjoy your very own delicious yogurt!
PrintInstant Pot Yogurt Starter: Create Creamy Yogurt Fast!

A quick and easy method to make creamy yogurt using an Instant Pot.
- Prep Time: 10 minutes
- Cook Time: 16 hours
- Total Time: 16 hours 10 minutes
- Yield: 4 servings 1x
- Category: Dairy
- Method: Instant Pot
- Cuisine: American
- Diet: Vegetarian
Ingredients
- 1 quart of milk
- 2 tablespoons of yogurt starter (plain yogurt with live cultures)
Instructions
- Pour the milk into the Instant Pot and close the lid.
- Select the ‘Yogurt’ function and set the time for 8 hours.
- After the time is up, remove the lid and stir in the yogurt starter.
- Close the lid again and set the ‘Yogurt’ function for another 8 hours.
- Once done, transfer the yogurt to containers and refrigerate for at least 4 hours before serving.
Notes
- For thicker yogurt, strain the yogurt using a cheesecloth.
- You can use any type of milk, including whole, 2%, or skim.
- Make sure the yogurt starter contains live active cultures for best results.
Nutrition
- Serving Size: 1 cup
- Calories: 150
- Sugar: 8g
- Sodium: 100mg
- Fat: 8g
- Saturated Fat: 5g
- Unsaturated Fat: 2g
- Trans Fat: 0g
- Carbohydrates: 12g
- Fiber: 0g
- Protein: 8g
- Cholesterol: 30mg