Japanese cotton cheesecake: Discover the Fluffy Delight!

Introduction to Japanese Cotton Cheesecake
Have you ever craved a dessert that feels like a warm hug? Let me introduce you to Japanese cotton cheesecake! This delightful treat combines the richness of cheesecake with an airy, soufflé-like texture. It’s perfect for busy days when you want to impress your loved ones without spending hours in the kitchen. With just a few simple ingredients, you can create a fluffy masterpiece that will leave everyone asking for seconds. Trust me, once you try this recipe, it will become your go-to dessert for any occasion!
Why You’ll Love This Japanese Cotton Cheesecake
This Japanese cotton cheesecake is not just a dessert; it’s a delightful experience! It’s incredibly easy to make, even for those of us juggling busy schedules. The light, fluffy texture melts in your mouth, making it a crowd-pleaser at any gathering. Plus, it’s a fantastic way to impress guests without spending all day in the kitchen. Trust me, this cheesecake will quickly become a cherished favorite in your home!
Ingredients for Japanese Cotton Cheesecake
Gathering the right ingredients is the first step to creating your fluffy masterpiece. Here’s what you’ll need:
- Cream Cheese: This is the star of the show! It gives the cheesecake its rich flavor and creamy texture. Make sure it’s softened for easy mixing.
- Granulated Sugar: Sweetness is key! Sugar balances the tanginess of the cream cheese and helps achieve that perfect fluffiness.
- Milk: A splash of milk adds moisture to the batter, making it smooth and luscious. You can use whole or low-fat milk based on your preference.
- Eggs: You’ll need large eggs, separated. The yolks add richness, while the whipped whites provide that airy lift we all love in a cotton cheesecake.
- All-Purpose Flour: This helps to stabilize the cheesecake. It’s essential for structure without weighing it down.
- Cornstarch: This ingredient works alongside flour to create a light texture. It’s a secret weapon for achieving that cottony feel!
- Vanilla Extract: A splash of vanilla enhances the flavor, adding a warm, inviting aroma to your cheesecake.
- Cream of Tartar: This helps stabilize the egg whites when whipped, ensuring they reach those glorious stiff peaks.
For exact measurements, check the bottom of the article where you can find everything listed for easy printing. Feel free to experiment with these ingredients! For instance, you can swap in a dairy-free cream cheese for a vegan version or add a hint of lemon zest for a refreshing twist. The possibilities are endless!
How to Make Japanese Cotton Cheesecake
Now that you have your ingredients ready, let’s dive into the steps to create this fluffy delight! Each step is crucial for achieving that perfect texture. Follow along, and I promise you’ll be amazed at how simple it is to make Japanese cotton cheesecake!
Step 1: Preheat the Oven
First things first, preheat your oven to 320°F (160°C). Preheating is essential because it ensures even baking. If the oven isn’t hot enough, your cheesecake may not rise properly, and we want that beautiful fluffiness!
Step 2: Prepare the Cream Cheese Mixture
In a mixing bowl, beat the cream cheese until it’s smooth and creamy. This step is vital because it helps eliminate lumps. A smooth base means a silky cheesecake. Trust me, you don’t want any surprises when you take that first bite!
Step 3: Combine Ingredients
Next, add the granulated sugar and milk to the cream cheese. Mix well until everything is combined. This step is important because it helps dissolve the sugar, ensuring a sweet, even flavor throughout your cheesecake.
Step 4: Incorporate Egg Yolks
Now, whisk the egg yolks in a separate bowl. Once they’re nice and frothy, add them to the cream cheese mixture. This adds richness and depth to your cheesecake. It’s like giving your dessert a warm hug!
Step 5: Sift and Mix Dry Ingredients
Time to sift the all-purpose flour and cornstarch into the mixture. Sifting helps prevent clumps and ensures a light texture. Gently mix until everything is smooth. This is where the magic of fluffiness begins!
Step 6: Beat Egg Whites
In another bowl, beat the egg whites with cream of tartar until stiff peaks form. This is a crucial step for achieving that airy texture. The cream of tartar stabilizes the egg whites, making them easier to fold into the batter.
Step 7: Fold Egg Whites into Mixture
Now, gently fold the beaten egg whites into the cream cheese mixture. Use a spatula and be careful not to deflate the egg whites. This folding technique is what gives your cheesecake its signature fluffiness. Think of it as a dance—gentle and graceful!
Step 8: Prepare for Baking
Pour the batter into a greased cake pan. Then, place this pan in a larger baking dish filled with water. This water bath method is essential for even baking. It helps maintain moisture, preventing cracks and ensuring a soft texture.
Step 9: Bake the Cheesecake
Now it’s time to bake! Place your cheesecake in the oven and let it bake for about 60 minutes. Keep an eye on it, and don’t open the oven door during baking. You want that beautiful rise to stay intact. A toothpick should come out clean when it’s done.
Step 10: Cooling and Serving
Once baked, let the cheesecake cool in the pan for a bit before removing it. This cooling process is crucial for setting the texture. Serve it chilled for the best experience. You’ll find that the flavors deepen, and the texture becomes even more delightful!
Tips for Success
- Always use room temperature ingredients for a smoother batter.
- Be gentle when folding in the egg whites to maintain fluffiness.
- Use a toothpick to check for doneness; it should come out clean.
- Let the cheesecake cool completely before serving for the best texture.
- Experiment with flavors by adding citrus zest or a hint of matcha!
Equipment Needed
- Mixing Bowls: Use any size, but a large bowl is best for mixing.
- Electric Mixer: A hand mixer works well, but a stand mixer can save time.
- Cake Pan: A round 8-inch pan is ideal; a springform pan can make removal easier.
- Baking Dish: Any large dish for the water bath will do.
- Spatula: A silicone spatula is great for folding and scraping.
Variations of Japanese Cotton Cheesecake
- Matcha Green Tea: Add 1-2 tablespoons of matcha powder to the batter for a delightful earthy flavor and a beautiful green hue.
- Citrus Zest: Incorporate lemon or orange zest for a refreshing twist that brightens the cheesecake.
- Chocolate Swirl: Melt some dark chocolate and swirl it into the batter before baking for a rich chocolatey experience.
- Berry Bliss: Fold in fresh or frozen berries like blueberries or raspberries for a fruity burst in every bite.
- Dairy-Free Option: Substitute cream cheese with a dairy-free alternative and use almond or coconut milk for a vegan-friendly version.
Serving Suggestions for Japanese Cotton Cheesecake
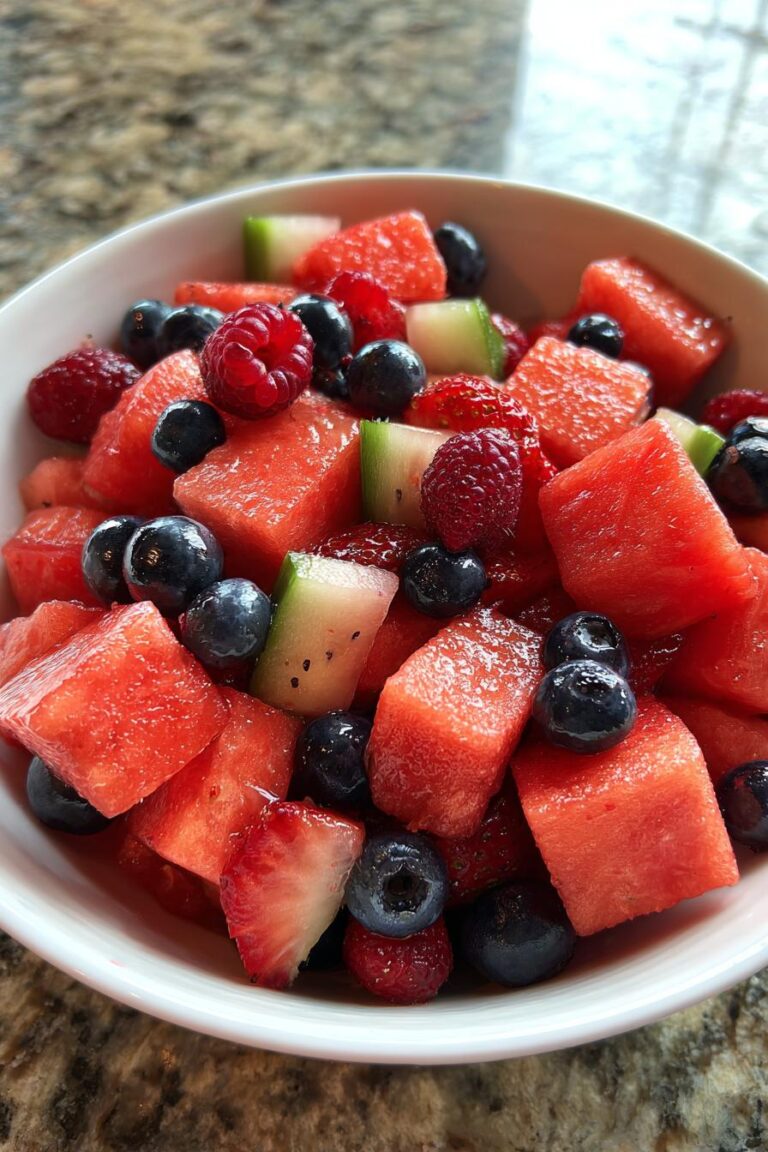
- Fresh Berries: Serve with a side of mixed berries for a pop of color and flavor.
- Whipped Cream: A dollop of lightly sweetened whipped cream adds a creamy touch.
- Green Tea: Pair with a warm cup of green tea for a delightful contrast.
- Presentation: Dust with powdered sugar and garnish with mint leaves for an elegant look.
FAQs about Japanese Cotton Cheesecake
What makes Japanese cotton cheesecake different from regular cheesecake?
Japanese cotton cheesecake is lighter and fluffier than traditional cheesecake. It combines the richness of cream cheese with the airy texture of a soufflé, creating a delightful dessert that melts in your mouth.
Can I make Japanese cotton cheesecake ahead of time?
Absolutely! This cheesecake can be made a day in advance. Just let it cool completely, then refrigerate it. Chilling enhances the flavors and gives it a perfect texture for serving.
Why is my cheesecake sinking in the middle?
A sinking cheesecake often results from opening the oven door too soon or not baking it long enough. Make sure to keep the oven closed during baking and check for doneness with a toothpick.
Can I use a different type of cheese?
While cream cheese is the traditional choice, you can experiment with mascarpone for a richer flavor. Just keep in mind that it may alter the texture slightly.
How do I store leftovers?
Store any leftover Japanese cotton cheesecake in an airtight container in the refrigerator. It should stay fresh for up to three days. Just remember to serve it chilled for the best experience!
Final Thoughts
Making Japanese cotton cheesecake is more than just baking; it’s about creating a moment of joy in your kitchen. The process is simple yet rewarding, and the end result is a fluffy delight that brings smiles to everyone’s faces. Whether you’re serving it at a family gathering or enjoying a quiet evening at home, this cheesecake is sure to impress. I hope you find as much happiness in making it as I do. So, roll up your sleeves, gather your ingredients, and let the magic of this delightful dessert fill your home with warmth and love!
PrintJapanese cotton cheesecake: Discover the Fluffy Delight!
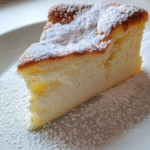
Japanese cotton cheesecake is a light and fluffy dessert that combines the richness of cheesecake with the airy texture of a soufflé.
- Prep Time: 20 minutes
- Cook Time: 60 minutes
- Total Time: 1 hour 20 minutes
- Yield: 8 servings 1x
- Category: Dessert
- Method: Baking
- Cuisine: Japanese
- Diet: Vegetarian
Ingredients
- 8 oz cream cheese
- 1/2 cup granulated sugar
- 1/4 cup milk
- 3 large eggs, separated
- 1/4 cup all-purpose flour
- 1/4 cup cornstarch
- 1/2 tsp vanilla extract
- 1/4 tsp cream of tartar
Instructions
- Preheat the oven to 320°F (160°C).
- In a mixing bowl, beat the cream cheese until smooth.
- Add sugar and milk, mixing until well combined.
- In a separate bowl, whisk the egg yolks and then add them to the cream cheese mixture.
- Sift in the flour and cornstarch, mixing until smooth.
- In another bowl, beat the egg whites with cream of tartar until stiff peaks form.
- Gently fold the egg whites into the cream cheese mixture.
- Pour the batter into a greased cake pan and place it in a larger baking dish filled with water (water bath method).
- Bake for 60 minutes or until the top is golden and a toothpick comes out clean.
- Let it cool before removing from the pan.
Notes
- Ensure all ingredients are at room temperature for best results.
- Do not open the oven door while baking to prevent collapsing.
- Serve chilled for a better texture.
Nutrition
- Serving Size: 1 slice
- Calories: 250
- Sugar: 10g
- Sodium: 200mg
- Fat: 15g
- Saturated Fat: 8g
- Unsaturated Fat: 5g
- Trans Fat: 0g
- Carbohydrates: 20g
- Fiber: 0g
- Protein: 6g
- Cholesterol: 80mg