Dairy-Free Coconut Milk Yogurt with Berries: A Creamy Delight!
Introduction to Dairy-Free Coconut Milk Yogurt with Berries
As a busy mom, I know how challenging it can be to whip up something delicious and healthy in a pinch. That’s why I absolutely adore this Dairy-Free Coconut Milk Yogurt with Berries! It’s creamy, satisfying, and bursting with flavor, making it the perfect breakfast or snack for those hectic days. Plus, it’s a fantastic way to impress your loved ones with a homemade treat that’s both nutritious and delightful. Trust me, once you try this yogurt, you’ll wonder how you ever lived without it!
Why You’ll Love This Dairy-Free Coconut Milk Yogurt with Berries
This Dairy-Free Coconut Milk Yogurt with Berries is a game-changer for busy lifestyles. It’s incredibly easy to make, requiring just a few simple ingredients and minimal hands-on time. The creamy texture and natural sweetness from the berries create a delightful treat that everyone will love. Plus, it’s vegan-friendly, making it a guilt-free indulgence that fits perfectly into any healthy eating plan. You’ll be amazed at how quickly it becomes a family favorite!
Ingredients for Dairy-Free Coconut Milk Yogurt with Berries
Gathering the right ingredients is the first step to creating your delicious Dairy-Free Coconut Milk Yogurt with Berries. Here’s what you’ll need:
- Coconut milk: This creamy base gives the yogurt its rich texture. Look for full-fat coconut milk for the best results.
- Dairy-free yogurt starter: This is essential for fermentation. You can find it in health food stores or online. It helps transform the coconut milk into yogurt.
- Maple syrup: A natural sweetener that adds a touch of sweetness. You can adjust the amount based on your taste preferences.
- Vanilla extract: This adds a lovely flavor that complements the yogurt beautifully. Use pure vanilla extract for the best taste.
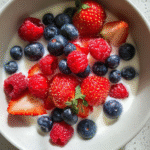
- Mixed berries: Fresh strawberries, blueberries, and raspberries not only add color but also provide a burst of flavor and nutrients. Feel free to use frozen berries if fresh ones aren’t available.
For those looking to experiment, you can substitute coconut milk with almond or cashew milk, but the texture may vary. If you prefer a sweeter yogurt, consider adding a bit more maple syrup or even a splash of agave nectar. Remember, the exact measurements for these ingredients are at the bottom of the article, ready for you to print out!
How to Make Dairy-Free Coconut Milk Yogurt with Berries
Making your own Dairy-Free Coconut Milk Yogurt with Berries is a fun and rewarding process. Follow these simple steps, and you’ll have a creamy, delicious yogurt that’s perfect for breakfast or a snack. Let’s dive in!
Step 1: Combine Ingredients
Start by gathering all your ingredients. In a mixing bowl, combine the coconut milk, dairy-free yogurt starter, maple syrup, and vanilla extract. This is where the magic begins! Make sure everything is at room temperature for the best results.
Step 2: Whisk Until Smooth
Next, grab a whisk and mix the ingredients together. Whisk until the mixture is smooth and well combined. You want to ensure that the yogurt starter is evenly distributed throughout the coconut milk. This step is crucial for a successful fermentation!
Step 3: Transfer to a Jar
Once your mixture is smooth, it’s time to pour it into a clean jar or container. I love using glass jars because they’re easy to clean and look pretty on the counter. Make sure to leave some space at the top, as the yogurt will expand during fermentation.
Step 4: Cover for Fermentation
Now, cover the jar with a cheesecloth or a loose lid. This allows air to circulate while keeping out any unwanted contaminants. It’s like giving your yogurt a cozy blanket for its fermentation journey!
Step 5: Let it Ferment
Place the jar in a warm spot in your kitchen. Let it sit for 24 to 48 hours. The longer it ferments, the tangier it will become. Check it after 24 hours; if it’s not tangy enough for your taste, let it go a bit longer. Just remember, patience is key!
Step 6: Refrigerate Before Serving
Once your yogurt has fermented to your liking, give it a good stir. Then, transfer it to the refrigerator for at least 4 hours. This chilling time helps thicken the yogurt and enhances the flavors. Plus, it’s a great way to cool down after the fermentation process!
Step 7: Top with Berries
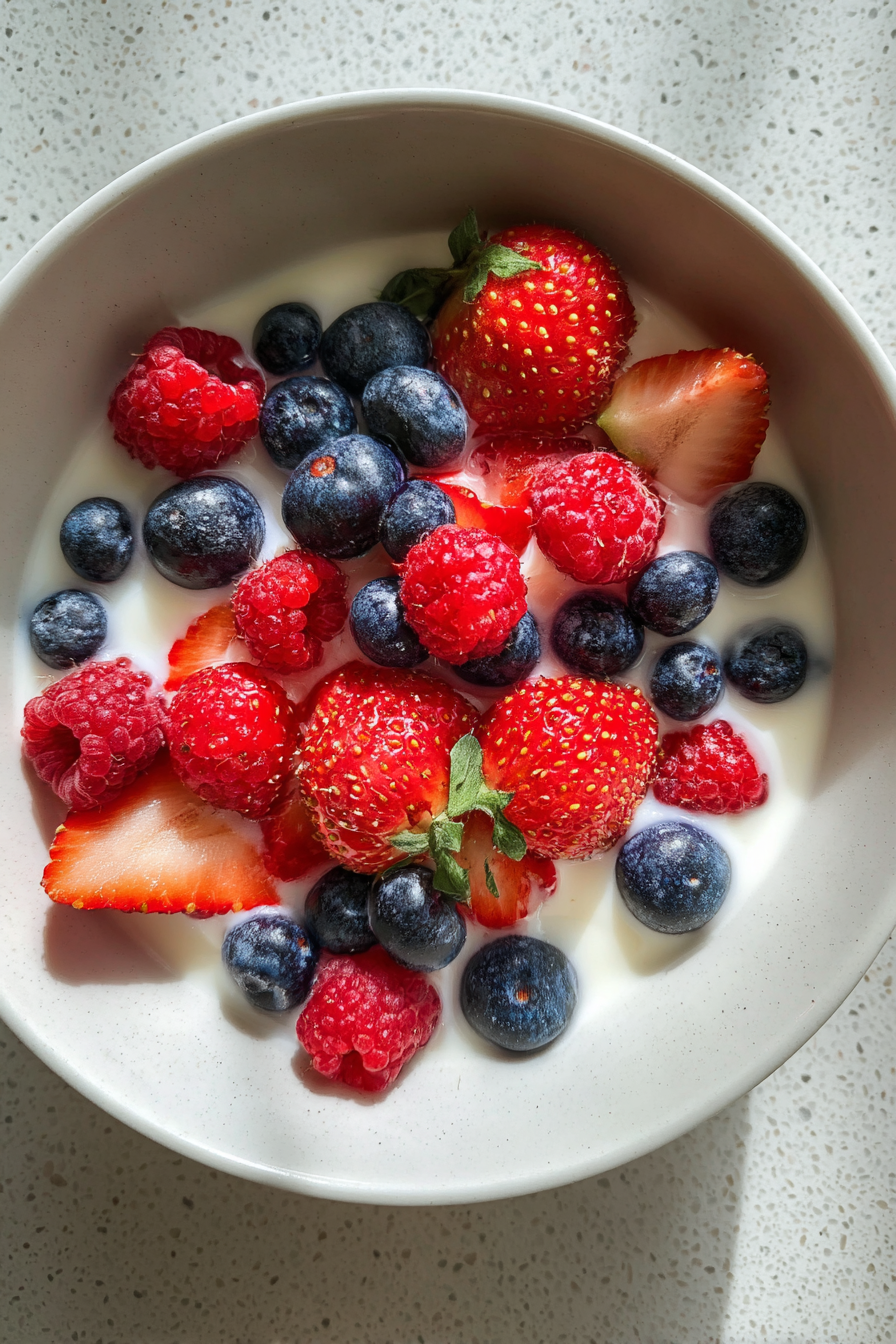
Finally, it’s time to enjoy your Dairy-Free Coconut Milk Yogurt! Scoop out a serving and top it with your favorite mixed berries. The vibrant colors and fresh flavors will make your yogurt even more delightful. Trust me, this is the best part!
Tips for Success
- Always use clean utensils and containers to prevent contamination.
- Experiment with fermentation times to find your perfect tanginess.
- For a thicker yogurt, consider straining it through a cheesecloth after fermentation.
- Store any leftovers in an airtight container in the fridge for up to a week.
- Feel free to mix in other flavors like cinnamon or nutmeg for a twist!
Equipment Needed
- Mixing bowl: A medium-sized bowl works best. You can also use a large measuring cup if you prefer.
- Whisk: A standard whisk is perfect, but a fork can do the job in a pinch.
- Jar or container: Use a glass jar for easy cleaning. A plastic container is fine too.
- Cheesecloth or loose lid: A clean kitchen towel can substitute for cheesecloth.
Variations
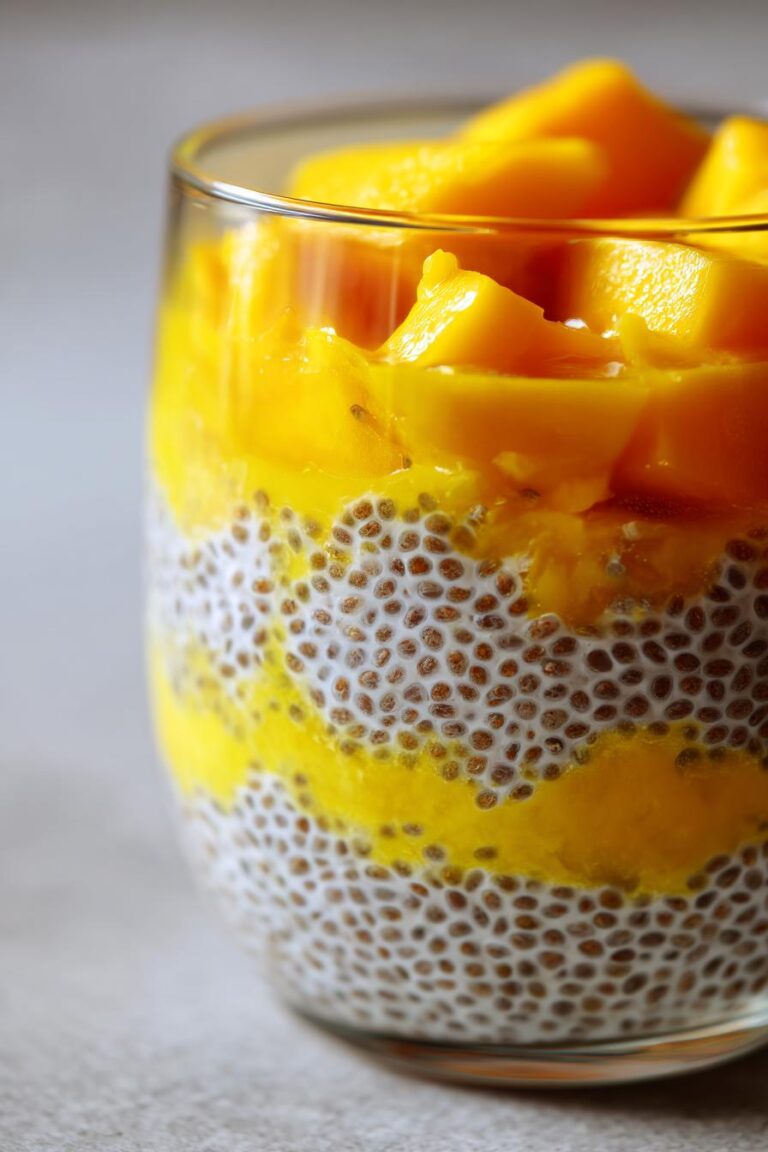
- Fruit Flavors: Blend in pureed fruits like mango or peach for a tropical twist.
- Nutty Delight: Add a tablespoon of almond or peanut butter for a creamy, nutty flavor.
- Chocolate Lovers: Stir in cocoa powder or chocolate syrup for a decadent treat.
- Spiced Yogurt: Mix in a pinch of cinnamon or nutmeg for a warm, cozy flavor.
- Probiotic Boost: Add a scoop of your favorite probiotic powder for extra gut health benefits.
Serving Suggestions
- Pair your Dairy-Free Coconut Milk Yogurt with a sprinkle of granola for added crunch.
- Serve it alongside a refreshing smoothie for a balanced breakfast.
- Drizzle with honey or agave for extra sweetness if desired.
- Garnish with mint leaves for a pop of color and freshness.
- Enjoy it with a cup of herbal tea for a cozy afternoon snack.
FAQs about Dairy-Free Coconut Milk Yogurt with Berries
As you embark on your journey to make Dairy-Free Coconut Milk Yogurt with Berries, you might have a few questions. Here are some common queries I’ve encountered, along with helpful answers to guide you along the way!
Can I use other types of milk for this yogurt?
Absolutely! While coconut milk gives a rich and creamy texture, you can experiment with almond or cashew milk. Just keep in mind that the consistency may differ.
How do I know when my yogurt is fermented enough?
Check the taste after 24 hours. If it’s tangy enough for your liking, it’s ready! If not, let it ferment longer. Remember, the longer it sits, the tangier it becomes.
Can I make this yogurt without a yogurt starter?
Yes! You can use a couple of tablespoons of store-bought dairy-free yogurt that contains live cultures as a starter. It works just as well!
How long can I store the yogurt?
Your Dairy-Free Coconut Milk Yogurt can be stored in the fridge for up to a week. Just make sure it’s in an airtight container to keep it fresh!
What can I do if my yogurt doesn’t thicken?
If your yogurt is too runny, try straining it through a cheesecloth after fermentation. This will help achieve that creamy texture you’re looking for!
Final Thoughts
Creating your own Dairy-Free Coconut Milk Yogurt with Berries is more than just a recipe; it’s a delightful experience that brings joy to your kitchen. The creamy texture and vibrant flavors make it a treat that everyone can enjoy, whether it’s breakfast or a snack. Plus, knowing you made it from scratch adds a special touch. I love how this yogurt can be customized to fit your family’s tastes, making it a versatile addition to your meal rotation. So, roll up your sleeves, gather your ingredients, and let the magic of homemade yogurt brighten your day!
PrintDairy-Free Coconut Milk Yogurt with Berries: A Creamy Delight!
A delicious and creamy dairy-free yogurt made with coconut milk and topped with fresh berries.
- Prep Time: 10 minutes
- Cook Time: 24-48 hours (fermentation time)
- Total Time: 24-48 hours 10 minutes
- Yield: 4 servings 1x
- Category: Breakfast
- Method: Fermentation
- Cuisine: Vegan
- Diet: Vegan
Ingredients
- 2 cups coconut milk
- 1/4 cup dairy-free yogurt starter
- 2 tablespoons maple syrup
- 1 teaspoon vanilla extract
- 1 cup mixed berries (strawberries, blueberries, raspberries)
Instructions
- In a mixing bowl, combine coconut milk, dairy-free yogurt starter, maple syrup, and vanilla extract.
- Whisk the mixture until smooth and well combined.
- Pour the mixture into a clean jar or container.
- Cover the jar with a cheesecloth or a loose lid to allow fermentation.
- Let it sit in a warm place for 24-48 hours to ferment.
- Once fermented, stir the yogurt and refrigerate for at least 4 hours before serving.
- Top with mixed berries before serving.
Notes
- Ensure all utensils and containers are clean to avoid contamination.
- Fermentation time may vary based on temperature; adjust accordingly.
- For a sweeter yogurt, add more maple syrup to taste.
Nutrition
- Serving Size: 1/2 cup
- Calories: 150
- Sugar: 5g
- Sodium: 30mg
- Fat: 10g
- Saturated Fat: 9g
- Unsaturated Fat: 1g
- Trans Fat: 0g
- Carbohydrates: 15g
- Fiber: 2g
- Protein: 2g
- Cholesterol: 0mg