Small-Batch Pickled Spring Ramp Bulbs: Discover Unique Flavor!
Introduction to Small-Batch Pickled Spring Ramp Bulbs
As a busy mom, I know how precious time can be, especially when it comes to cooking. That’s why I’m excited to share my recipe for Small-Batch Pickled Spring Ramp Bulbs. This delightful dish is not only quick to prepare but also adds a unique flavor to your meals. Imagine impressing your loved ones with a tangy, crunchy condiment that elevates any dish! Whether you’re looking to jazz up a salad or serve as a zesty side, these pickled ramp bulbs are the perfect solution for a busy day in the kitchen.
Why You’ll Love This Small-Batch Pickled Spring Ramp Bulbs
What’s not to love about Small-Batch Pickled Spring Ramp Bulbs? They’re incredibly easy to make, taking just 25 minutes from start to finish. Plus, the vibrant flavors will have your taste buds dancing! These pickled beauties are perfect for busy moms like us, offering a quick way to elevate any meal. You can enjoy them as a snack, a condiment, or a salad topper, making them a versatile addition to your kitchen repertoire.
Ingredients for Small-Batch Pickled Spring Ramp Bulbs
Gathering the right ingredients is key to making delicious Small-Batch Pickled Spring Ramp Bulbs. Here’s what you’ll need:
- Spring ramp bulbs: These little gems are the star of the show! Their mild onion flavor adds a delightful twist to your pickles.
- White vinegar: This tangy liquid is essential for the pickling process, providing that signature sour taste.
- Water: Balances the acidity of the vinegar, ensuring a well-rounded flavor.
- Sugar: A touch of sweetness helps to balance the tanginess, making the pickles more palatable.
- Salt: Enhances flavor and acts as a preservative, keeping your pickles fresh.
- Mustard seeds: These tiny seeds add a subtle spice and crunch to your pickles.
- Black peppercorns: A classic spice that brings warmth and depth to the flavor profile.
- Bay leaf: Infuses a lovely herbal note, elevating the overall taste of the pickling liquid.
Feel free to adjust the sugar and salt to suit your taste preferences. If you can’t find spring ramps, you can substitute with small shallots or green onions for a similar effect. For exact measurements, check the bottom of the article where you can find them available for printing!
How to Make Small-Batch Pickled Spring Ramp Bulbs
Now that you have your ingredients ready, let’s dive into the fun part: making Small-Batch Pickled Spring Ramp Bulbs. This process is straightforward and rewarding. Follow these simple steps, and you’ll have a jar of delicious pickles in no time!
Step 1: Clean the Spring Ramp Bulbs
Start by giving your spring ramp bulbs a good wash. Rinse them under cold water to remove any dirt or grit. Trim off the roots and any wilted leaves. You want them clean and fresh, ready to soak up all that pickling goodness!
Step 2: Prepare the Pickling Liquid
In a medium saucepan, combine equal parts of white vinegar and water. Add in the sugar and salt. Stir the mixture gently and bring it to a boil over medium heat. The sugar and salt should dissolve completely, creating a tangy base for your pickles.
Step 3: Add Spices
Once your pickling liquid is boiling, it’s time to add the spices. Toss in the mustard seeds, black peppercorns, and bay leaf. These spices will infuse your ramp bulbs with a delightful flavor. Let the mixture simmer for a minute or two, allowing the spices to release their aromatic essence.
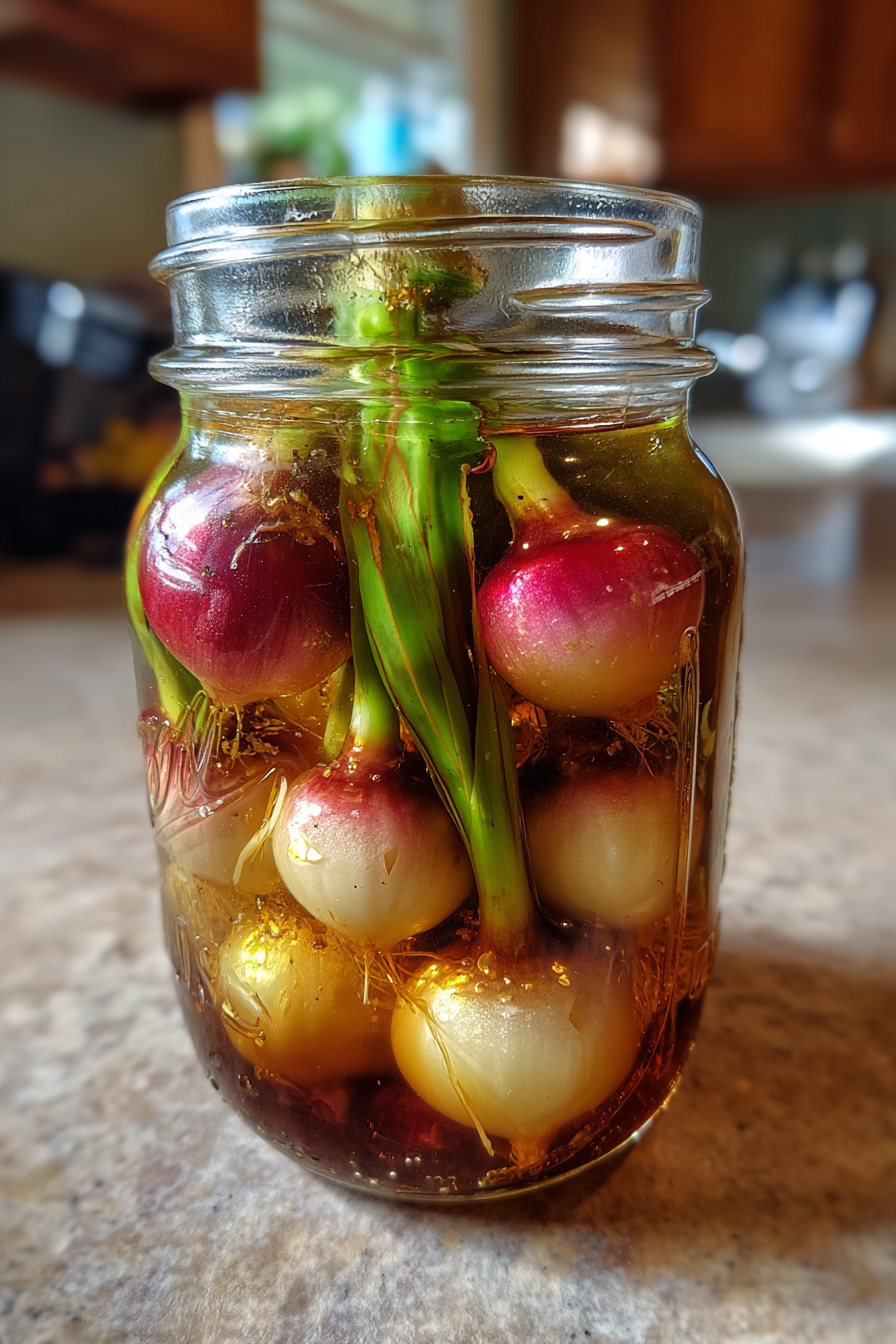
Step 4: Jar the Ramp Bulbs
Carefully place the cleaned ramp bulbs into a sterilized jar. I like to pack them in tightly, but not so much that they get squished. This way, every bite will be packed with flavor. Make sure your jar is clean to ensure the best preservation!
Step 5: Pour the Pickling Liquid
Now, it’s time to pour the hot pickling liquid over the ramp bulbs. Make sure they are fully submerged. This is crucial for proper pickling. If you notice any bulbs floating, gently press them down with a clean spoon. You want every bit to soak up that tangy goodness!
Step 6: Seal and Cool
Once the jar is filled, seal it tightly with a lid. Let it cool to room temperature on your kitchen counter. This cooling process allows the flavors to meld together beautifully. It’s like a little flavor party happening right in your jar!
Step 7: Refrigerate
After the jar has cooled, pop it in the refrigerator. For the best flavor, let your pickled ramp bulbs sit for at least 24 hours before diving in. This waiting period allows the flavors to deepen and develop, making each bite a delightful experience.
Tips for Success
- Always use fresh spring ramp bulbs for the best flavor.
- Make sure your jar is properly sterilized to prevent spoilage.
- Feel free to experiment with spices like dill or red pepper flakes for a kick.
- Store your pickles in the back of the fridge for optimal freshness.
- Try adding a splash of lemon juice for extra brightness!
Equipment Needed
- Medium saucepan: A regular pot works just fine if you don’t have one.
- Sterilized jar: Any glass jar with a tight lid will do; repurpose an old jam jar!
- Measuring cups: Use any cup you have on hand for measuring ingredients.
- Clean spoon: A regular kitchen spoon is perfect for stirring and pressing.
Variations
- Spicy Kick: Add a few slices of fresh jalapeño or a pinch of red pepper flakes to the pickling liquid for a spicy twist.
- Herb Infusion: Experiment with fresh herbs like dill or thyme for a fragrant touch that complements the ramp bulbs.
- Sweet and Sour: Increase the sugar slightly for a sweeter pickle, perfect for those who enjoy a balance of flavors.
- Garlic Lovers: Toss in a couple of crushed garlic cloves to the pickling liquid for an extra layer of flavor.
- Vegan Option: This recipe is already vegan-friendly, but you can substitute the sugar with agave syrup for a different sweetness.
Serving Suggestions for Small-Batch Pickled Spring Ramp Bulbs
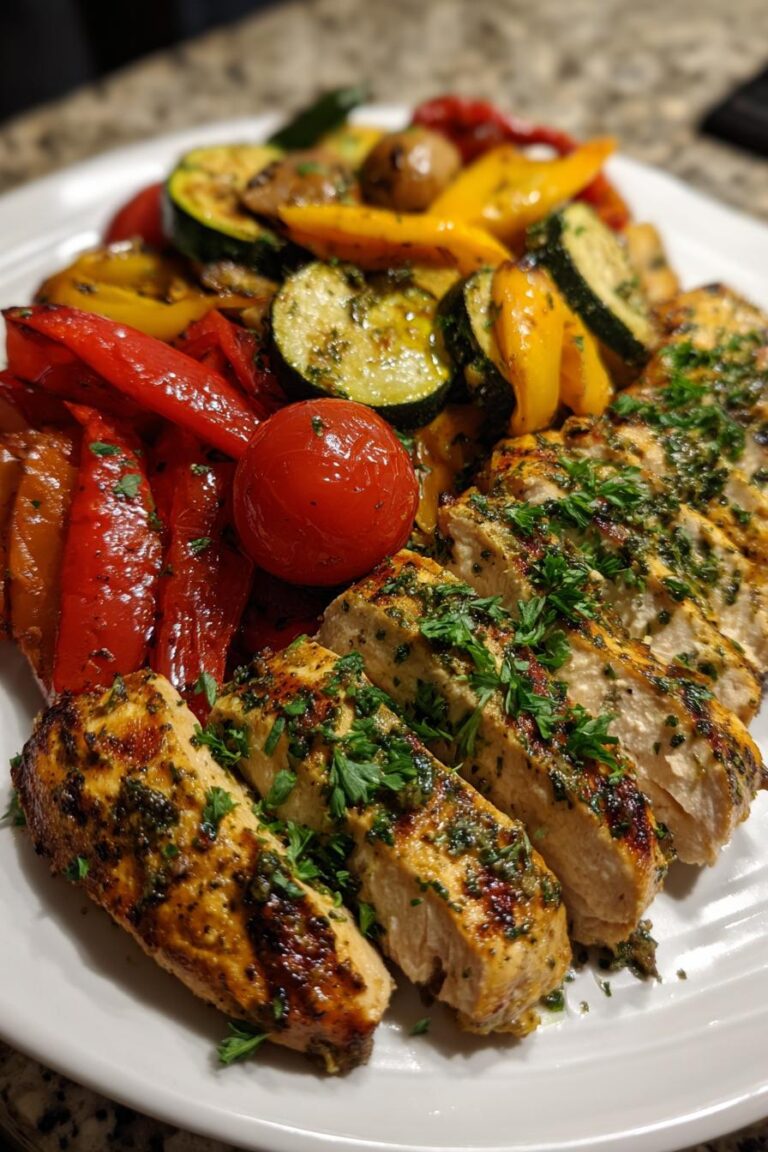
- Serve as a zesty topping on grilled meats or fish for a burst of flavor.
- Add to salads for a crunchy, tangy twist that brightens up greens.
- Pair with cheese and crackers for a delightful appetizer.
- Use in sandwiches or wraps for an unexpected crunch.
- Enjoy with a refreshing cocktail or sparkling water for a unique pairing.
FAQs about Small-Batch Pickled Spring Ramp Bulbs
Can I use other types of bulbs for pickling?
Absolutely! While Small-Batch Pickled Spring Ramp Bulbs are delightful, you can substitute them with shallots or green onions. They’ll still provide that lovely crunch and flavor.
How long do pickled ramp bulbs last in the fridge?
Your pickled ramp bulbs can last up to two weeks in the refrigerator. Just make sure they stay submerged in the pickling liquid for optimal freshness!
Can I adjust the sweetness in the pickling liquid?
Yes! Feel free to tweak the sugar to your liking. If you prefer a sweeter pickle, add a bit more sugar. It’s all about finding that perfect balance for your taste buds.
What dishes pair well with pickled ramp bulbs?
These pickled beauties are versatile! They shine as a topping on grilled meats, in salads, or even as a zesty addition to sandwiches. The possibilities are endless!
Is this recipe suitable for canning?
This recipe is designed for quick pickling and refrigeration. If you’re looking to can them for long-term storage, I recommend following a tested canning recipe to ensure safety.
Final Thoughts
Making Small-Batch Pickled Spring Ramp Bulbs is more than just a cooking task; it’s a delightful experience that brings joy to your kitchen. The vibrant flavors and crunchy texture can transform any meal into something special. I love how this simple recipe allows me to preserve the essence of spring in a jar, ready to brighten up my dishes. Plus, it’s a fun way to introduce my family to new tastes! So, roll up your sleeves, gather your ingredients, and let the pickling magic begin. You’ll be amazed at how something so simple can bring such happiness to your table!
PrintSmall-Batch Pickled Spring Ramp Bulbs: Discover Unique Flavor!
A delightful recipe for pickling spring ramp bulbs, perfect for adding a unique flavor to your dishes.
- Prep Time: 15 minutes
- Cook Time: 10 minutes
- Total Time: 25 minutes
- Yield: 1 jar 1x
- Category: Condiment
- Method: Pickling
- Cuisine: American
- Diet: Vegetarian
Ingredients
- 1 cup spring ramp bulbs
- 1 cup white vinegar
- 1 cup water
- 2 tablespoons sugar
- 1 tablespoon salt
- 1 teaspoon mustard seeds
- 1 teaspoon black peppercorns
- 1 bay leaf
Instructions
- Clean the spring ramp bulbs thoroughly and trim the roots.
- In a saucepan, combine vinegar, water, sugar, and salt. Bring to a boil.
- Add mustard seeds, black peppercorns, and bay leaf to the boiling mixture.
- Place the ramp bulbs in a sterilized jar.
- Pour the hot pickling liquid over the ramp bulbs, ensuring they are fully submerged.
- Seal the jar and let it cool to room temperature.
- Refrigerate for at least 24 hours before consuming for best flavor.
Notes
- These pickled ramp bulbs can last up to 2 weeks in the refrigerator.
- Adjust the sugar and salt to taste if desired.
- Great as a condiment or in salads.
Nutrition
- Serving Size: 1 tablespoon
- Calories: 10
- Sugar: 1g
- Sodium: 200mg
- Fat: 0g
- Saturated Fat: 0g
- Unsaturated Fat: 0g
- Trans Fat: 0g
- Carbohydrates: 2g
- Fiber: 0g
- Protein: 0g
- Cholesterol: 0mg