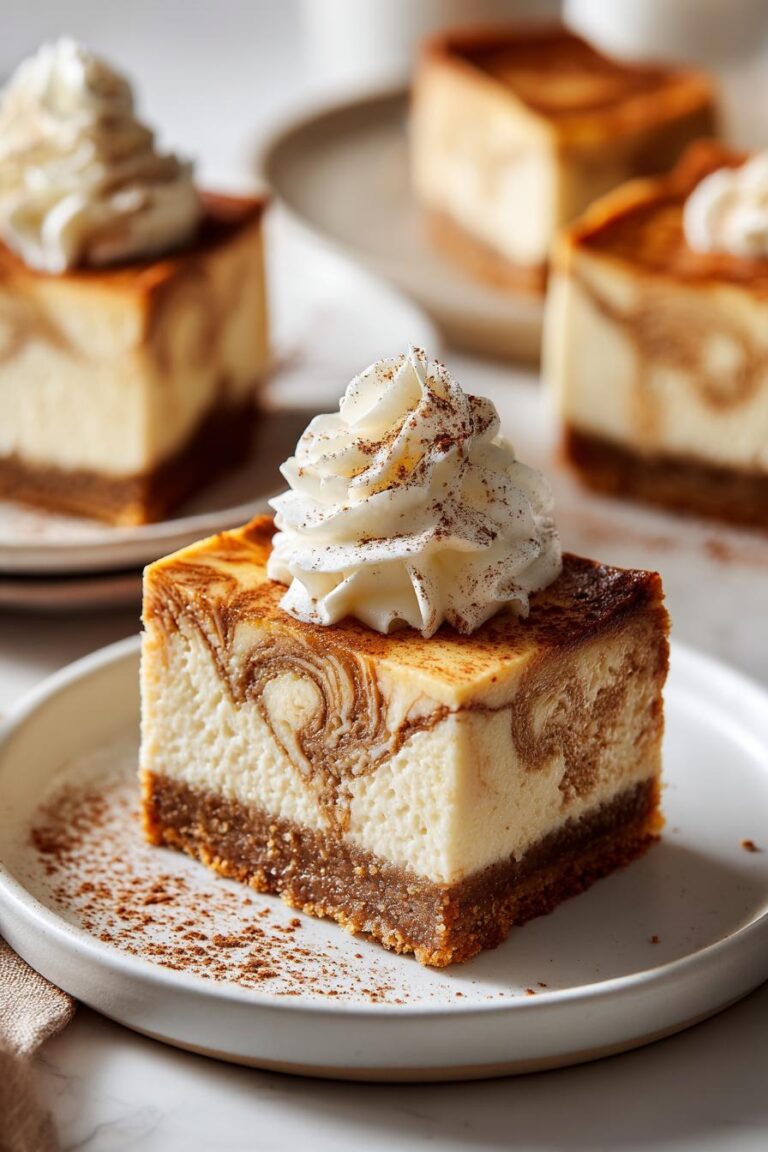
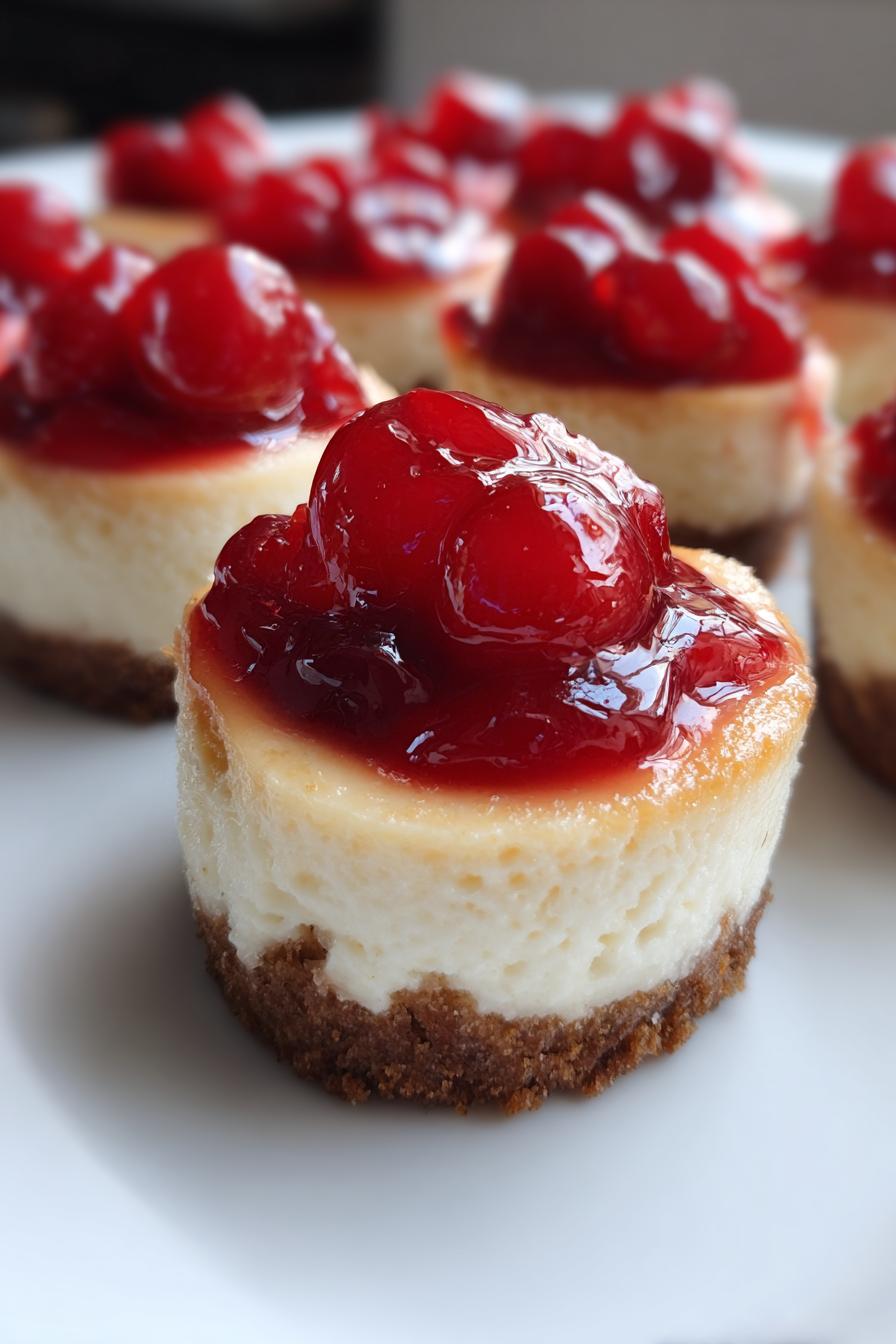
7 Irresistible Mini Cherry Cheesecakes for Stellar Desserts
Oh my gosh, let me tell you about the first time I made mini cherry cheesecakes—it was pure kitchen magic! I was hosting my niece’s birthday party and needed something adorable that wouldn’t have kids (or adults) fighting over slices. These little guys stole the show with their creamy centers and that gorgeous cherry topping. The best part? They’re ridiculously easy—no fancy water baths or cracking worries like with full-sized cheesecakes.
I’ve been baking cheesecakes for over a decade (my family jokes I have cream cheese running through my veins), and these mini versions have become my go-to for everything from bridal showers to “I just need dessert tonight” moments. They bake in half the time of a regular cheesecake, and everyone gets their own perfect portion with that classic graham cracker crunch. Trust me, once you try this recipe, you’ll be as obsessed as I am!
The secret is in the simplicity: just seven basic ingredients transform into these elegant little desserts. And that cherry topping? It’s like edible confetti—bright, sweet, and impossible to resist. Whether you’re a baking newbie or a seasoned pro, these mini cherry cheesecakes will make you look like a rock star.
Why You’ll Love These Mini Cherry Cheesecakes
Oh, where do I even start? These little bites of joy have won over every crowd I’ve served them to—and here’s why:
- No fuss, no stress: Skip the water bath! These bake up perfectly without any cracks or drama.
- Party superstars: Individual portions mean no slicing mess—just grab and go!
- Creamy dreaminess: That velvety filling? It’s like biting into a cloud (a very delicious, cheesecake-flavored cloud).
- Sweet-tart magic: The cherry topping cuts through the richness for that perfect bite every time.
- Quick to make: From mixing bowl to muffin tin in under 20 minutes—seriously!
Honestly, I’ve lost count of how many times I’ve whipped these up last-minute. They never disappoint!
Ingredients for Mini Cherry Cheesecakes
Okay, let’s talk ingredients—the building blocks of these little beauties! Here’s what you’ll need (and yes, I’m picky about some of these because they make ALL the difference):
- 1 1/2 cups graham cracker crumbs (I crush mine fresh—those pre-crumbled ones are too powdery!)
- 1/4 cup melted butter, cooled slightly (trust me, hot butter makes soggy crusts)
- 16 oz cream cheese, SOFTENED (this is non-negotiable—cold cream cheese = lumpy filling)
- 1/2 cup sugar (granulated works best here)
- 2 large eggs, room temp (they incorporate smoother)
- 1 tsp vanilla extract (the good stuff—imitation vanilla makes me sad)
- 1 can cherry pie filling (or homemade if you’re feeling fancy)
See? Nothing weird or hard-to-find—just simple ingredients that create magic together. Now let’s get mixing!
Equipment You’ll Need
Gather these trusty tools—nothing fancy, just the basics that make these mini cheesecakes a breeze:
- Muffin tin (standard 12-cup works perfectly)
- Paper liners (the cute colorful ones make these extra festive!)
- Mixing bowls (one for crust, one for filling—less cleanup)
- Electric mixer (a hand mixer works great if you don’t have a stand mixer)
- Measuring cups & spoons (because eyeballing never works with cheesecake)
That’s it! Now let’s get baking—your future cheesecake-loving self will thank you.
How to Make Mini Cherry Cheesecakes
Alright, let’s dive into the fun part—making these adorable little cheesecakes! I’ll walk you through each step like I’m right there in the kitchen with you (maybe pretend I’m wearing my favorite “Knead Love” apron for good luck).
Prepare the Graham Cracker Crust
First things first—that buttery, crunchy base! I like to put my graham crackers in a zip-top bag and crush them with a rolling pin (great stress relief!). Mix your crumbs with the melted butter until it looks like wet sand—you want it to hold together when you pinch it.
Now here’s my secret: press the crumbs firmly into each lined muffin cup with the back of a spoon or a small glass. I’m talking serious pressure—this prevents crumbly disasters later! No need to pre-bake this crust (yay for time savers!), but if you want extra crispness, pop the tray in the oven at 350°F for 5 minutes while you make the filling.
Make the Cheesecake Filling
Time for the star of the show! Room temperature cream cheese is KEY—I leave mine out for at least 2 hours. If you rush this, you’ll end up with lumpy filling (and nobody wants that). Beat the cream cheese with sugar until it’s completely smooth—scrape down the bowl twice to catch any stubborn bits.
Add eggs one at a time, mixing just until combined after each. Overbeating eggs makes cheesecakes puff up then collapse—we want creamy, not cakey! Stir in the vanilla last. The filling should be silky and pourable, like a thick milkshake.
Bake and Cool
Fill each crust about 3/4 full—I use a cookie scoop for neatness. Bake at 350°F for 20 minutes exactly (set a timer!). They’re done when the edges look set but the centers still jiggle slightly when you nudge the pan—like wobbly pudding. Any longer and they’ll lose that perfect creaminess!
Cool them in the pan on a rack for 30 minutes—this prevents temperature shock. Then transfer to the fridge (still in liners) for at least 2 hours. Patience, my friend! Cold cheesecakes hold their shape when topped.
Add Cherry Topping
The grand finale! Wait until right before serving to add cherries—this keeps the topping vibrant and the crust crisp. I use about 1 tablespoon per cheesecake, gently spooning it on. Pro tip: pat the cherries dry with a paper towel first to prevent juice from making the tops soggy.
And there you have it—bite-sized cheesecake perfection! Now try not to eat them all before your guests arrive (I won’t judge if you “test” one…or three).
Tips for Perfect Mini Cherry Cheesecakes
After making hundreds (okay, maybe thousands) of these little guys, I’ve picked up some game-changing tricks:
- Chill that crust: 10 minutes in the fridge before filling = no crumbling disasters
- Full-fat is your friend: Low-fat cream cheese makes weepy, sad cheesecakes—just don’t do it
- Jiggle test: Pull them at 20 minutes even if they look underdone—they firm up while cooling
- Room temp eggs: Cold eggs can make the filling separate (been there, cried over that)
- Patience pays: That 2-hour chill? It’s the difference between good and “oh-my-goodness” amazing
Follow these, and you’ll be the mini cheesecake hero at every gathering—promise!
Variations and Substitutions
Ohhh, let’s get creative! While I adore the classic version, sometimes you gotta mix it up:
- Cookie monster crust: Swap grahams for crushed Oreos—just skip the extra sugar (those cookies are sweet enough!)
- Berry bliss: Blueberry or strawberry pie filling works fabulously if cherries aren’t your jam
- Sugar swaps: Coconut sugar adds caramel notes, but expect a darker color and slightly grainier texture
- Lemon zing: Add 1 tsp lemon zest to the filling for a bright twist (my summer go-to!)
Just remember—every change affects texture slightly, so embrace the delicious experimentation!
Serving and Storing Mini Cherry Cheesecakes
Here’s the best part—these little cuties are ready to party whenever you are! Serve them straight from the fridge (cold cheesecake = perfect texture) with an extra drizzle of cherry juice if you’re feeling fancy. Leftovers? Ha! Just kidding—but if you miraculously have some, pop them in an airtight container for up to 3 days.
Want to get ahead? Freeze them without the cherry topping for up to a month. Thaw overnight in the fridge, then add cherries right before serving. Pro tip: freeze them on a baking sheet first, then transfer to a bag—no squished cheesecakes!
Mini Cherry Cheesecakes Nutrition
Now, let’s be real—we’re not eating cheesecakes for their health benefits! But since you asked, here’s the scoop: each adorable mini cheesecake is a perfectly portioned indulgence. The nutritional values will dance around depending on your exact ingredients (full-fat vs. reduced-fat cream cheese, brand of pie filling, etc.), but they’re all about that sweet, creamy joy in every bite.
Important note: These numbers are estimates based on standard ingredients—your results may vary slightly. I always say one cheesecake = one happy heart, and that’s nutritional science I can stand behind!
Common Questions About Mini Cherry Cheesecakes
I get asked about these little guys ALL the time—so let’s tackle those burning questions!
Can I use frozen cherries instead of pie filling?
Absolutely! Thaw and drain them well, then toss with a tablespoon of sugar and a squeeze of lemon juice. Let them sit for 30 minutes to make their own syrup. Just know they won’t have that glossy pie-filling look (but they’ll taste amazing!).
How far in advance can I make these?
They’re perfect make-ahead treats! The cheesecakes (without topping) keep beautifully in the fridge for 3 days or freezer for a month. Add cherries only before serving—nobody likes a soggy crust!
Why did mine crack? How can I prevent it?
Overmixing or overbaking are the usual culprits. My foolproof method? Mix just until combined, pull them at 20 minutes (even if they seem underdone), and let them cool gradually. No cracks = happy baker!
Can I skip the paper liners?
I don’t recommend it—these babies stick like crazy! If you’re out of liners, grease the pan EXTRA well and freeze the cheesecakes before trying to pop them out. But really, liners are lifesavers here.
There you go—all my hard-earned mini cheesecake wisdom in one spot! Now go forth and bake with confidence.
Print7 Irresistible Mini Cherry Cheesecakes for Stellar Desserts
Delicious mini cherry cheesecakes with a graham cracker crust and creamy filling.
- Prep Time: 15 mins
- Cook Time: 20 mins
- Total Time: 35 mins
- Yield: 12 mini cheesecakes 1x
- Category: Dessert
- Method: Baking
- Cuisine: American
- Diet: Vegetarian
Ingredients
- 1 1/2 cups graham cracker crumbs
- 1/4 cup melted butter
- 16 oz cream cheese, softened
- 1/2 cup sugar
- 2 eggs
- 1 tsp vanilla extract
- 1 can cherry pie filling
Instructions
- Preheat oven to 350°F (175°C). Line a muffin tin with paper liners.
- Mix graham cracker crumbs and melted butter. Press into the bottom of each liner.
- Beat cream cheese and sugar until smooth. Add eggs one at a time, then vanilla.
- Pour filling over crusts, filling each cup 3/4 full.
- Bake for 20 minutes or until set. Cool completely.
- Top with cherry pie filling before serving.
Notes
- Chill for at least 2 hours for best texture.
- Use room temperature cream cheese for smoother filling.
Nutrition
- Serving Size: 1 mini cheesecake
- Calories: 280
- Sugar: 22g
- Sodium: 220mg
- Fat: 18g
- Saturated Fat: 10g
- Unsaturated Fat: 6g
- Trans Fat: 0g
- Carbohydrates: 26g
- Fiber: 0.5g
- Protein: 4g
- Cholesterol: 75mg