45-Minute Caramelized White Chocolate Magic You Need Now

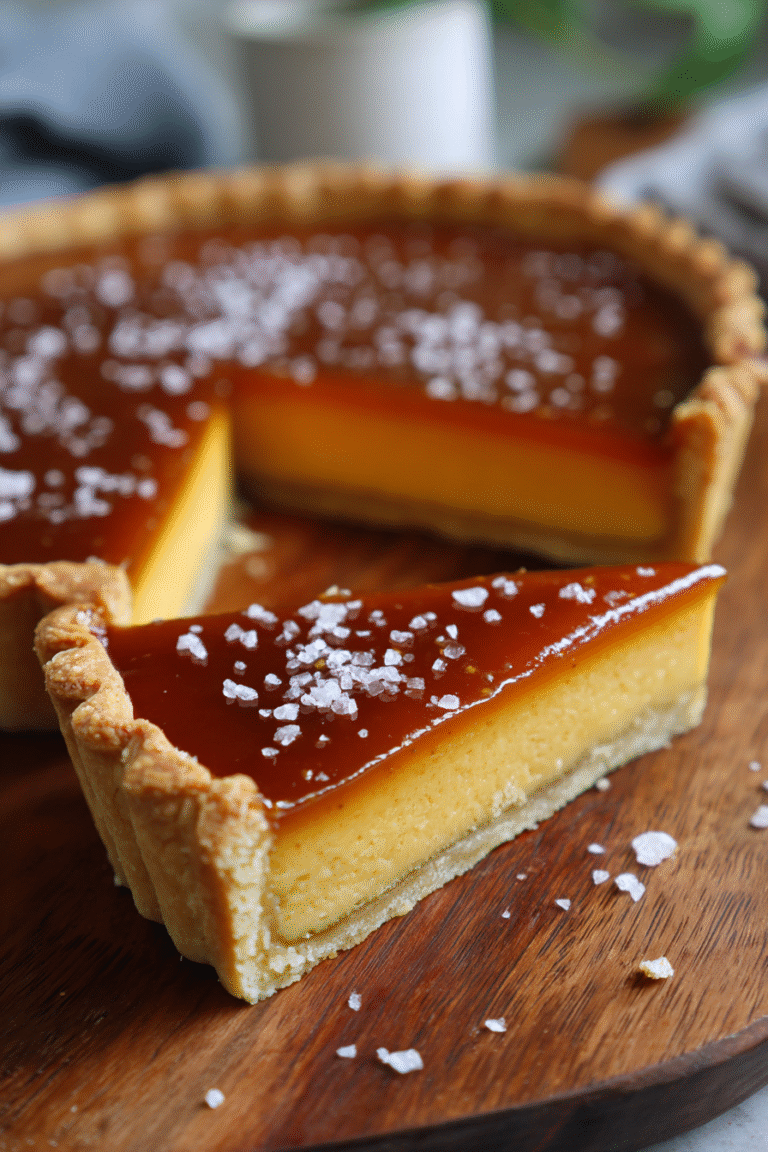
Oh my goodness, let me tell you about the first time I tasted caramelized white chocolate—it was a total game changer! I was in this tiny Parisian patisserie, completely mesmerized by the pastry chef drizzling something golden and velvety over a tart. “What is that magic?” I asked. When he said it was white chocolate, I nearly dropped my spoon. Who knew you could transform that sweet, simple ingredient into something with such deep, nutty richness? Now I make caramelized white chocolate at home all the time—it’s shockingly easy and makes everything taste like a fancy dessert. Trust me, once you try this, you’ll never look at white chocolate the same way again.
Why You’ll Love This Caramelized White Chocolate Recipe
This caramelized white chocolate recipe is a total winner, and here’s why:
- Simple process: All you need is white chocolate, an oven, and a little patience—no fancy equipment required.
- Deep, nutty flavor: The caramelization process turns sweet white chocolate into something rich, toasty, and totally addictive.
- Versatile uses: Drizzle it, bake with it, or mix it into desserts—it transforms everything it touches.
- Elevates desserts: Seriously, a little caramelized white chocolate makes even the simplest treats feel gourmet.
Once you try it, you’ll see why I’m obsessed. It’s like magic in your kitchen!
Ingredients for Caramelized White Chocolate
This recipe is so simple, it almost feels like cheating—but trust me, the magic is all in the quality of your chocolate. Here’s what you’ll need:
- 200g high-quality white chocolate, chopped (don’t skimp here—look for real cocoa butter, not “white baking chips”)
That’s it! Just one ingredient, but make sure it’s the good stuff. Cheap white chocolate won’t caramelize properly—it’ll just burn or turn grainy. I swear by brands with at least 30% cocoa butter for that perfect golden transformation.
How to Make Caramelized White Chocolate
Okay, let’s get into the nitty-gritty of making this golden magic happen. I promise it’s easier than you think—just follow these steps, and you’ll have the most incredible caramelized white chocolate in no time!
Preheat and Prepare the Chocolate
First things first: preheat your oven to 120°C (250°F). While that’s warming up, grab your high-quality white chocolate and chop it into small, even pieces. You want them roughly the same size so they caramelize evenly—no big chunks! Spread them out in a single layer on a parchment-lined baking sheet. (Trust me, parchment is your best friend here—it makes cleanup a breeze.)
Baking and Stirring Process
Now, here’s where the patience comes in. Pop that tray in the oven and set a timer for 10 minutes. When it goes off, take the tray out and give the chocolate a good stir. It’ll look melty and maybe a little lumpy at first—totally normal! Just keep stirring until it smooths out. Back in the oven it goes for another 10 minutes. Repeat this process every 10 minutes, and watch the magic happen. Around the 30-minute mark, you’ll start seeing that gorgeous golden color develop. The smell? Absolutely heavenly—like toasted marshmallows and caramel had a baby. Keep going until it reaches a deep, nutty brown (usually around 40 minutes total).
Cooling and Storing
Once your caramelized white chocolate is perfectly golden, take it out and let it cool completely on the tray. It’ll firm up as it cools but stay gloriously smooth. If you’re not using it right away, transfer it to an airtight container—it’ll keep for up to 2 weeks at room temperature. (Though let’s be real, it probably won’t last that long!) If it hardens too much, just gently warm it in short bursts in the microwave or over a double boiler before using. And there you have it—your very own jar of liquid gold!
Tips for Perfect Caramelized White Chocolate
Okay, let me share my hard-earned tricks for foolproof caramelized white chocolate every single time:
- Stir like it’s your job: Set that timer religiously for every 10 minutes—skipping a stir means risking burnt spots. I learned this the hard way when I got distracted by my cat!
- Spread evenly: Keep your chocolate in a thin, uniform layer on the pan. Clumps caramelize unevenly, and nobody wants half-burnt, half-raw chocolate.
- Trust your nose: When it starts smelling like buttery toffee rather than plain chocolate, you’re on the right track. That nutty aroma is your cue it’s almost done.
- Watch the color: Aim for a deep golden brown—think honey mixed with peanut butter. If it looks like milk chocolate, keep going!
Remember, caramelized white chocolate is forgiving—just keep stirring and smelling your way to perfection!
Ways to Use Caramelized White Chocolate
Oh, the possibilities are endless with this golden treasure! Here are some of my favorite ways to use caramelized white chocolate:
- Drizzle it: Pour it over fresh fruit, ice cream, or even pancakes for an instant upgrade. It’s like liquid sunshine!
- Bake with it: Swirl it into brownies, fold it into cookie dough, or use it as a filling for tarts. It adds a rich, nutty depth that’s just irresistible.
- Mix it in: Stir it into whipped cream, frostings, or even hot cocoa for a luxurious twist. You’ll never go back to plain white chocolate again.
- Dip it: Coat pretzels, strawberries, or even marshmallows for a sweet-and-salty treat. Trust me, it’s addictive.
Once you start using it, you’ll find a million more ways to enjoy it. Get creative—it’s your kitchen playground!
Storing and Reheating Caramelized White Chocolate
Once you’ve made your caramelized white chocolate, store it in an airtight container at room temperature—it’ll stay smooth and delicious for up to 2 weeks. If it hardens, just gently reheat it in short bursts in the microwave or over a double boiler, stirring until it’s silky again. Easy peasy!
Caramelized White Chocolate FAQs
I get so many questions about caramelizing white chocolate—here are the ones that pop up most often, along with my tried-and-true answers!
Can I use white chocolate chips instead of bars?
Technically yes, but I don’t recommend it! Most chips have stabilizers that prevent proper caramelization. They might burn or stay grainy. If you must use chips, look for high-quality ones with real cocoa butter (check the ingredients—no palm oil or artificial stuff).
Why did my chocolate seize or turn lumpy?
Ah, the dreaded seize! Usually this happens from overheating or moisture sneaking in. Make sure your baking sheet is completely dry, and don’t crank the oven higher—low and slow is key. If it happens, keep stirring vigorously; often it’ll come back together with patience.
How do I know when it’s done caramelizing?
Follow your nose and eyes! It should smell like toasted nuts and have a deep golden-amber color—think dulce de leche. Undercooked will taste too sweet; overcooked gets bitter fast. When in doubt, pull it at 35 minutes.
Can I caramelize milk or dark chocolate?
Nope, that’s a one-way ticket to burnt chocolate town! Only white chocolate has the right sugar and milk solids to caramelize properly without turning acrid. Trust me—I learned this the smokey way!
Nutritional Information for Caramelized White Chocolate
Let’s be real—this is a treat, not health food! But here’s the scoop per 20g serving: roughly 110 calories, 7g fat (4g saturated), and 10g sugar. Exact numbers vary by chocolate brand, so take this as a guide. Enjoy responsibly—it’s impossible to stop at just one taste!
Share Your Caramelized White Chocolate Experience
I’d love to hear how your caramelized white chocolate turns out—did you drizzle it over ice cream? Bake it into cookies? Maybe even eat it straight off the spoon (no judgement here!). Drop a comment below with your creations, or tag me on social media so I can cheer you on. Happy caramelizing!
Print45-Minute Caramelized White Chocolate Magic You Need Now

A rich and creamy potato soup perfect for chilly days.
- Prep Time: 10 mins
- Cook Time: 25 mins
- Total Time: 35 mins
- Yield: 4 servings 1x
- Category: Soup
- Method: Stovetop
- Cuisine: American
- Diet: Vegetarian
Ingredients
- 4 large potatoes, peeled and diced
- 1 onion, chopped
- 2 cloves garlic, minced
- 4 cups vegetable broth
- 1 cup heavy cream
- 2 tbsp butter
- Salt and pepper to taste
Instructions
- Melt butter in a large pot over medium heat.
- Add onion and garlic, sauté until soft.
- Add diced potatoes and vegetable broth.
- Bring to a boil, then reduce heat and simmer for 20 minutes.
- Blend half the soup until smooth.
- Return blended soup to the pot.
- Stir in heavy cream.
- Season with salt and pepper.
- Serve hot.
Notes
- Use russet potatoes for best texture.
- For extra flavor, add shredded cheese on top.
- Store leftovers in the fridge for up to 3 days.
Nutrition
- Serving Size: 1 bowl
- Calories: 320
- Sugar: 5g
- Sodium: 450mg
- Fat: 18g
- Saturated Fat: 11g
- Unsaturated Fat: 5g
- Trans Fat: 0g
- Carbohydrates: 35g
- Fiber: 4g
- Protein: 6g
- Cholesterol: 55mg