Fluffy Japanese Milk Bread Recipe: Perfectly Pillowy Loaf
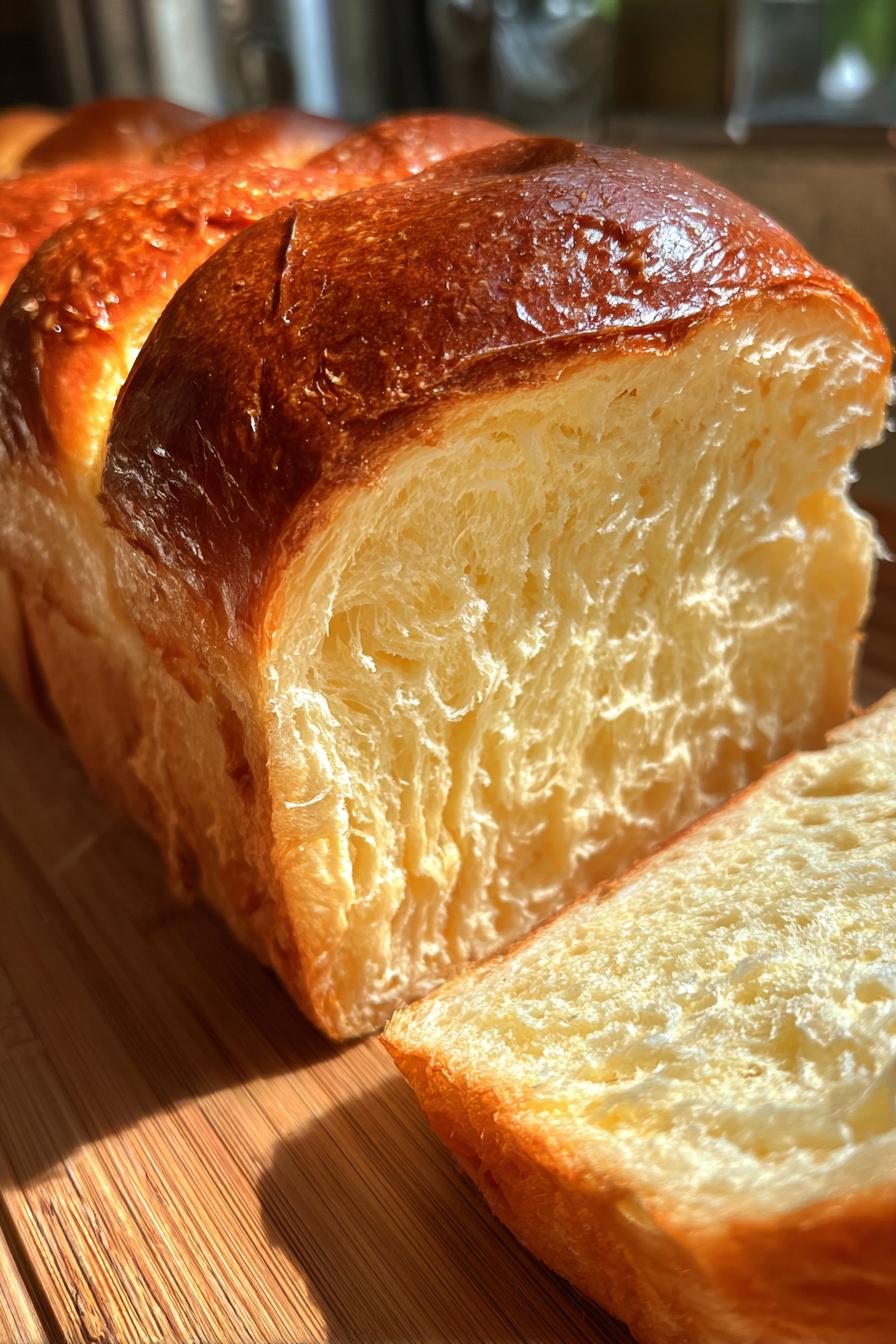
Oh, let me tell you about my absolute obsession – fluffy Japanese milk bread! The first time I pulled a golden loaf from my oven and tore into that cloud-like interior, I knew I’d never go back to regular sandwich bread again. What makes this bread so special? It’s that magical combination of milk, butter, and just the right kneading technique that gives you slices so soft they practically melt in your mouth. After testing dozens of recipes (and eating way too much bread), I’ve perfected a version that’s foolproof for home bakers. Trust me, once you’ve made this pillowy masterpiece yourself, store-bought bread will never compare.
Why You’ll Love This Fluffy Japanese Milk Bread
Once you try this bread, you’ll understand why I can’t stop making it! Here’s what makes it so special:
- Pillowy soft texture – It’s like biting into a cloud, with that perfect springy crumb that stays fresh for days
- Subtle sweetness – Just enough sugar to enhance the flavor without being dessert-like
- Easier than you think – No fancy techniques needed, just good old-fashioned kneading and patience
- Versatile – Makes incredible toast, sandwiches, or just eaten warm with butter
- That bakery smell – Your kitchen will smell absolutely heavenly while it bakes
Seriously, this bread disappears faster than I can bake it in my house – and I bake a lot!
Ingredients for Fluffy Japanese Milk Bread
Gathering these simple ingredients is the first step to bread heaven! Here’s exactly what you’ll need to create that perfect pillowy texture:
- 300g bread flour – This high-protein flour gives structure while keeping it light
- 150ml whole milk – Warmed slightly, about 100°F – the fat content makes all the difference
- 1 large egg – Bring it to room temp for better incorporation
- 30g unsalted butter, softened – Never substitute margarine if you want that authentic richness
- 25g sugar – Just enough for subtle sweetness without overwhelming
- 5g salt – Balances all the flavors beautifully
- 7g instant yeast – My little rising miracle worker
See? Nothing too fancy – just quality ingredients measured precisely. Now let’s make some magic!
Equipment You’ll Need
Don’t worry – you don’t need any fancy gadgets to make this dreamy bread! Here’s what I always grab from my kitchen:
- Large mixing bowl – For all that glorious kneading action
- Stand mixer with dough hook (or strong arms!) – To develop that perfect gluten structure
- Loaf pan (9×5 inch) – Creates that classic bakery shape
- Kitchen scale – Precision is key for consistent results
- Dough scraper – My secret weapon for handling sticky dough
That’s it! Now let’s get our hands floury and make some magic happen.
How to Make Fluffy Japanese Milk Bread
Okay, let’s dive into the fun part – transforming these simple ingredients into pillowy perfection! Follow these steps closely, and you’ll be rewarded with the softest bread you’ve ever made at home.
Mixing the Dough
First things first – whisk together your dry ingredients (flour, sugar, salt, and yeast) in a large bowl. This ensures everything gets evenly distributed. Now, pour in that warmed milk and crack in your egg. Here’s my trick: mix with a wooden spoon until it just comes together, then dump it onto a clean surface. Knead for about 5 minutes by hand – you’ll feel it transform from shaggy mess to smooth dough. Don’t rush this part!
Incorporating the Butter
Once your dough is smooth (but still a bit stiff), it’s butter time! Flatten your dough slightly and smear on that softened butter. At first, it’ll feel like a slippery mess – stick with it! Knead for another 7-10 minutes until the butter fully incorporates and the dough becomes silky and elastic. You’ll know it’s ready when it passes the windowpane test – stretch a small piece thin enough to see light through without tearing.
First Rise
Now, tuck your beautiful dough into a lightly oiled bowl, cover with a damp towel, and let it rise in a warm spot. My favorite trick? Turn your oven to the lowest setting for 1 minute, then turn it off – perfect rising environment! Wait until doubled in size, about 1-1.5 hours. Patience is key here – don’t rush this fermentation that develops all that amazing flavor.
Shaping and Second Rise
Gently punch down the dough (so satisfying!) and divide into equal portions – I usually do 3 or 4 balls. Roll each into smooth balls, then flatten and roll up tightly like a little jelly roll. Arrange them seam-side down in your greased loaf pan. Cover again and let rise until puffy and nearly reaching the pan’s rim, about 45 minutes to 1 hour. Almost there!
Baking Fluffy Japanese Milk Bread
Preheat your oven to 350°F (180°C) during the last 20 minutes of rising. Brush the loaf top with milk or egg wash for that gorgeous golden crust. Bake for 25-30 minutes until deeply golden brown – tap the top; it should sound hollow. Resist cutting immediately! Let it cool in the pan for 10 minutes, then transfer to a rack. I know it’s hard, but waiting at least 30 minutes before slicing gives you those perfect, non-gummy slices.
Tips for Perfect Fluffy Japanese Milk Bread
After making more loaves than I can count, here are my can’t-miss secrets for bakery-quality results every time:
- Check your yeast – If it doesn’t bubble when proofed with warm milk, it’s dead and your bread won’t rise properly
- Knead with confidence – Don’t skimp on kneading time; that gluten development is what gives the signature pillowy texture
- Watch the rise – Overproofed dough collapses easily when poked; underproofed springs back completely
- Temperature matters – Cold milk slows yeast activity; aim for 100-110°F for perfect proofing
- Slice smart – Use a serrated knife in a gentle sawing motion to prevent squishing those delicate slices
Follow these, and you’ll have bread so good your neighbors will come knocking!
Variations for Fluffy Japanese Milk Bread
Once you’ve mastered the basic recipe, the fun begins! Here are my favorite ways to mix things up:
- Honey version – Swap half the sugar for honey (adds floral notes and keeps it extra moist)
- Matcha twist – Mix 1 tbsp matcha powder with the dry ingredients for a gorgeous green loaf
- Cheese lover’s – Fold in 50g shredded cheddar during the butter stage (trust me, it’s magical)
- Everything bagel – Brush with egg wash and sprinkle with everything seasoning before baking
The possibilities are endless – this dough is like a blank canvas for your bread dreams!
Serving Suggestions
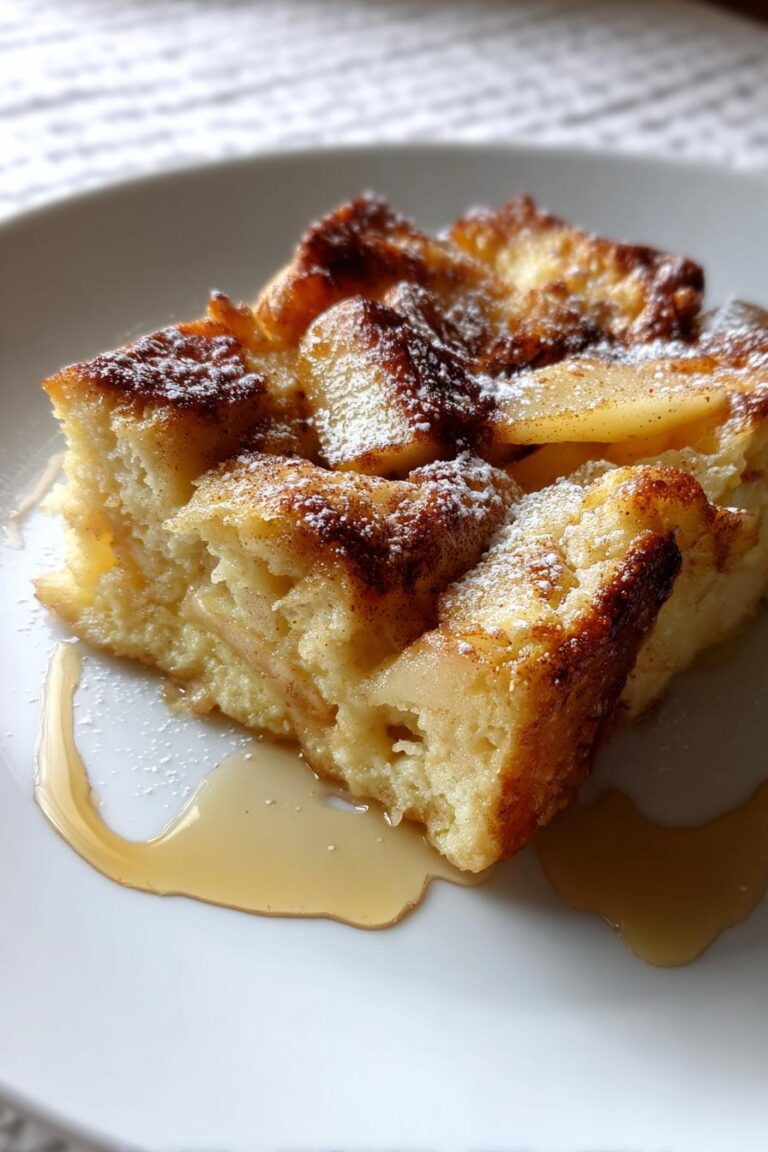
Oh, the ways you can enjoy this fluffy Japanese milk bread! My absolute favorite? Thick slices toasted until golden, slathered with softened butter that melts into all those pillowy crevices. It also makes dreamy French toast, perfect sandwiches, or just tear off warm hunks straight from the loaf – no judgment here! For something special, try it with homemade strawberry jam or a drizzle of honey.
Storage and Reheating
Here’s how I keep my fluffy Japanese milk bread tasting fresh for days (if it lasts that long!): Store at room temperature in an airtight bag or container for up to 3 days. For longer storage, slice and freeze in freezer bags – just pop a slice straight into the toaster when cravings hit. To revive day-old bread, wrap in foil and warm at 300°F for 5 minutes – it’ll taste bakery-fresh again!
Nutritional Information
Here’s what you’re getting in each heavenly slice of this fluffy Japanese milk bread (based on about 12 slices per loaf):
- 150 calories – Light enough for seconds!
- 4g fat – Mostly from that rich butter and whole milk
- 25g carbs – Just enough for energy without spiking blood sugar
- 5g protein – Thanks to that bread flour and egg
Of course, these numbers might shift slightly depending on your exact ingredients and slice thickness. But let’s be real – when bread tastes this good, who’s counting?
Frequently Asked Questions
Can I use all-purpose flour instead of bread flour?
You can, but you won’t get quite the same fluffy texture. Bread flour has more protein, which gives that signature springy crumb. If you must substitute, try adding 1 tbsp vital wheat gluten per cup of all-purpose flour to help the structure.
Help! My dough isn’t rising – what went wrong?
Oh no! Most likely culprit is dead yeast – always test it by mixing with warm milk and a pinch of sugar first. If it doesn’t bubble within 10 minutes, toss it and start fresh. Other possibilities: milk was too hot (killed the yeast) or your rising spot wasn’t warm enough.
Can I make this without a stand mixer?
Absolutely! I actually prefer kneading by hand – you can really feel when the dough reaches that perfect elastic stage. Just be prepared for a good 15-20 minutes of kneading. Think of it as your arm workout for the day!
Why does my bread collapse after baking?
This breaks my baker’s heart! Usually means it overproofed during the second rise. Next time, watch closely – the dough should spring back slowly when gently poked, not stay indented. Also, make sure your oven is fully preheated before baking.
Can I use active dry yeast instead of instant?
Yes! Just activate it first in the warm milk with a pinch of sugar until foamy (about 5-10 minutes). Use the same amount by weight, but you might need slightly longer rising times since instant yeast works faster.
Fluffy Japanese Milk Bread Recipe: Perfectly Pillowy Loaf

Fluffy Japanese milk bread is a soft, pillowy bread made with milk, butter, and a touch of sugar for a slightly sweet flavor.
- Prep Time: 20 minutes
- Cook Time: 30 minutes
- Total Time: 2 hours 50 minutes (includes rising)
- Yield: 1 loaf 1x
- Category: Bread
- Method: Baking
- Cuisine: Japanese
- Diet: Vegetarian
Ingredients
- 300g bread flour
- 150ml whole milk
- 1 large egg
- 30g unsalted butter, softened
- 25g sugar
- 5g salt
- 7g instant yeast
Instructions
- Mix flour, sugar, salt, and yeast in a bowl.
- Add milk and egg, then knead until smooth.
- Incorporate butter and knead until the dough is elastic.
- Let the dough rise until doubled in size.
- Divide into portions, shape, and place in a loaf pan.
- Let rise again until puffy.
- Bake at 180°C (350°F) for 25-30 minutes.
- Cool before slicing.
Notes
- Use fresh yeast for best results.
- Knead thoroughly for a soft texture.
- Let the dough rise in a warm place.
Nutrition
- Serving Size: 1 slice (50g)
- Calories: 150
- Sugar: 5g
- Sodium: 150mg
- Fat: 4g
- Saturated Fat: 2g
- Unsaturated Fat: 1.5g
- Trans Fat: 0g
- Carbohydrates: 25g
- Fiber: 1g
- Protein: 5g
- Cholesterol: 25mg