Grass-Fed Bone Marrow Toast: A Delicious Nutrition Boost!
Introduction to Grass-Fed Bone Marrow Toast
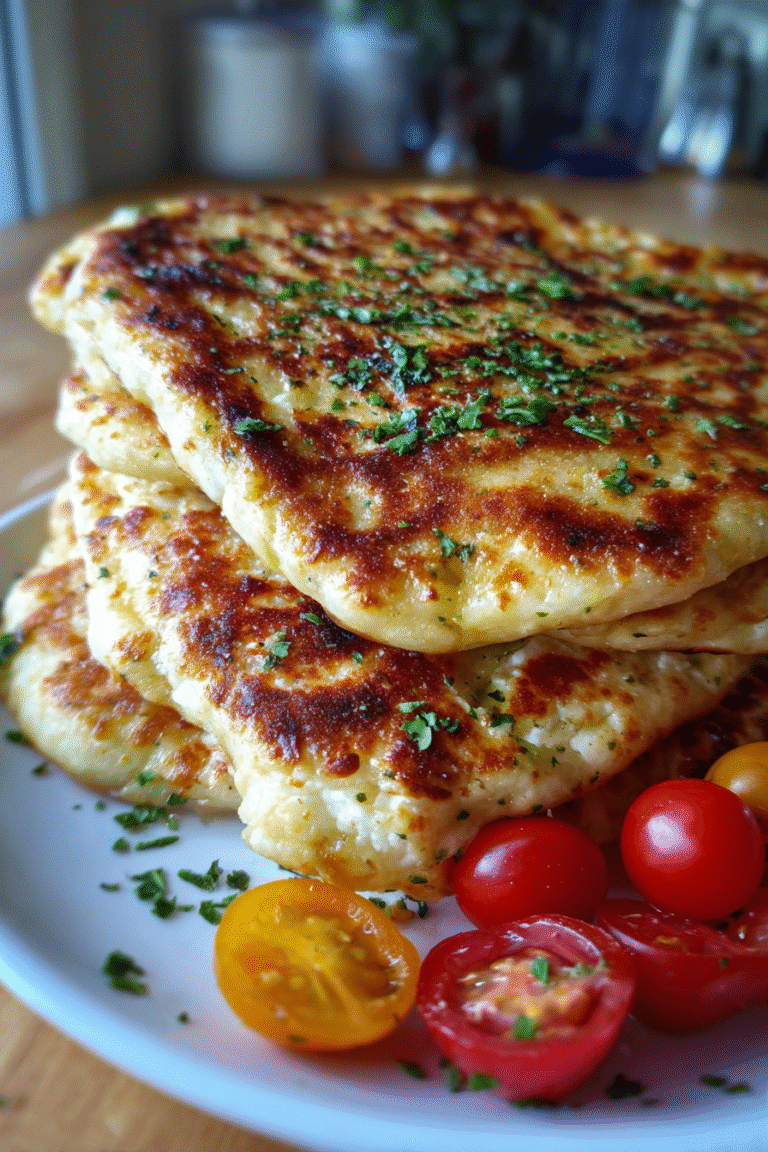
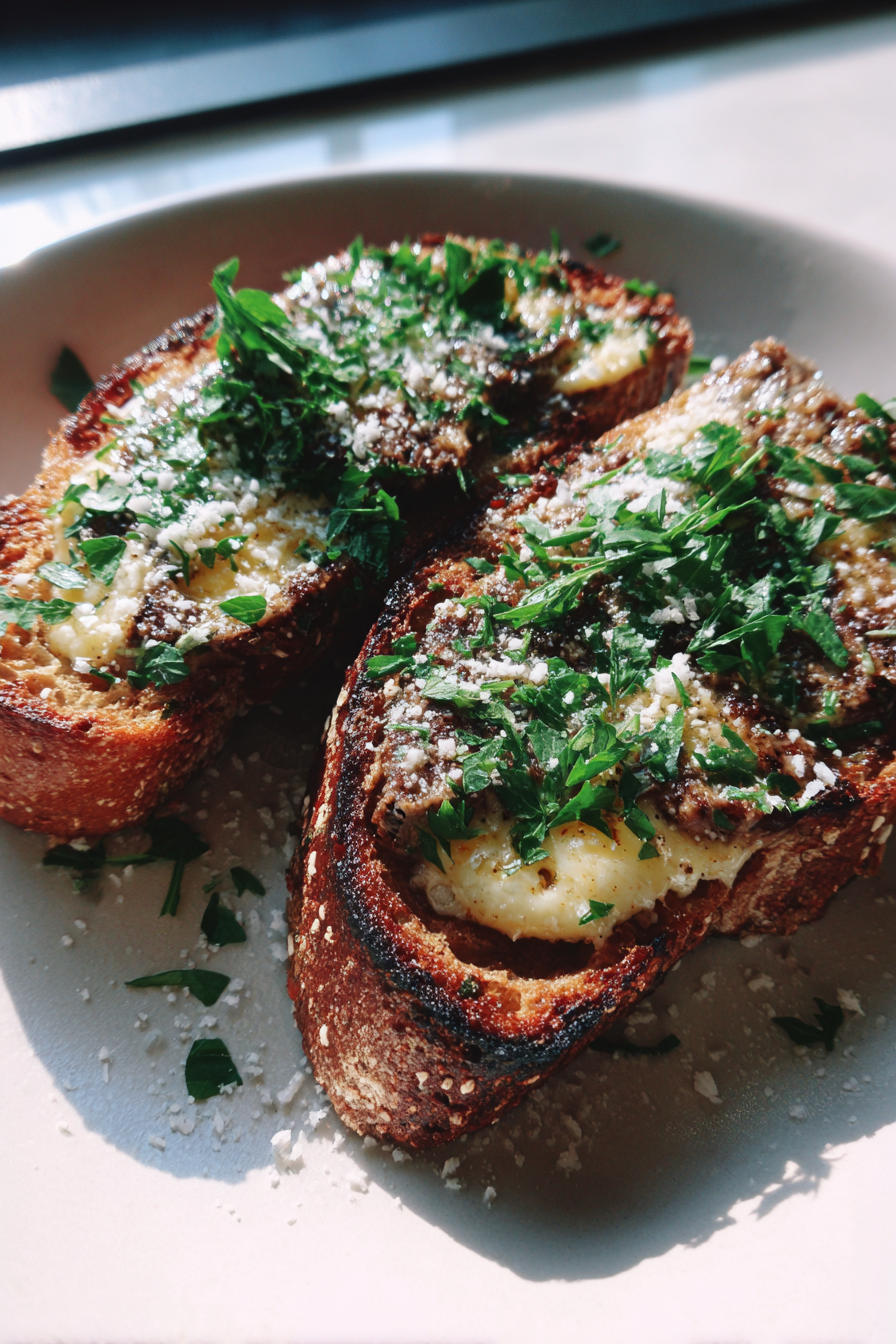
As a busy mom, I know how challenging it can be to whip up something delicious yet nutritious. That’s where my love for Grass-Fed Bone Marrow Toast comes in! This dish is not only a quick solution for a hectic day, but it also impresses family and friends alike. Imagine the rich, buttery flavor of bone marrow spread on crispy toast, topped with fresh herbs. It’s a delightful appetizer that feels fancy but is surprisingly easy to make. Trust me, once you try it, you’ll want to add it to your regular rotation!
Why You’ll Love This Grass-Fed Bone Marrow Toast
This Grass-Fed Bone Marrow Toast is a game-changer for busy days. It’s quick to prepare, taking just 30 minutes from start to finish. The rich, savory flavor of the bone marrow paired with crispy toast is simply irresistible. Plus, it’s a fantastic way to sneak in some nutrition without sacrificing taste. Whether you’re hosting friends or enjoying a cozy night in, this dish is sure to impress!
Ingredients for Grass-Fed Bone Marrow Toast
Gathering the right ingredients is key to making a delicious Grass-Fed Bone Marrow Toast. Here’s what you’ll need:
- Crusty Bread: Choose a hearty bread like sourdough or a baguette. The texture is essential for holding the rich marrow.
- Grass-Fed Bone Marrow: This is the star of the show! Grass-fed marrow is packed with nutrients and has a rich flavor. Look for it at your local butcher or specialty grocery store.
- Olive Oil: A drizzle of high-quality olive oil enhances the flavor and helps the marrow cook beautifully. It’s a heart-healthy fat that adds richness.
- Salt: A pinch of salt brings out the flavors in the marrow. Use sea salt for a touch of elegance.
- Freshly Ground Black Pepper: This adds a bit of spice and depth. Freshly ground is always best for maximum flavor.
- Chopped Fresh Herbs: Parsley or chives work wonderfully as a garnish. They add a pop of color and freshness to the dish.
For those looking to elevate the flavor, consider adding minced garlic or a squeeze of lemon juice before baking the marrow. These optional ingredients can really take your toast to the next level!
Exact measurements for each ingredient can be found at the bottom of the article, along with a printable version of the recipe.
How to Make Grass-Fed Bone Marrow Toast
Making Grass-Fed Bone Marrow Toast is a delightful experience that combines simple steps with rich flavors. Let’s dive into the process, ensuring you have all the tips you need for success!
Step 1: Preheat the Oven
First things first, preheat your oven to 400°F (200°C). Preheating is crucial because it ensures even cooking. If you skip this step, the marrow may not cook properly, leaving you with a less-than-perfect dish. Trust me, a well-preheated oven makes all the difference!
Step 2: Prepare the Bone Marrow
Next, place the grass-fed bone marrow in a baking dish. Drizzle it with olive oil, and sprinkle salt and freshly ground black pepper on top. The olive oil not only adds flavor but also helps the marrow cook evenly. Seasoning is key here; it enhances the natural richness of the marrow, making every bite a delight!
Step 3: Bake the Bone Marrow
Now, it’s time to bake! Pop the dish in the oven and let it bake for about 15-20 minutes. You’ll know it’s done when the marrow is bubbly and golden. Keep an eye on it; you want that perfect golden color without burning. The aroma will fill your kitchen, making it hard to resist!
Step 4: Toast the Bread
While the marrow is baking, let’s toast the bread. You can use a toaster, oven, or even a skillet. If using a skillet, heat it over medium heat and add a little olive oil for extra flavor. Toast the bread until it’s crispy and golden brown. This texture is essential for holding the luscious marrow!
Step 5: Assemble the Toast
Once the bone marrow is ready, it’s time to assemble your toast. Spread the warm marrow generously on the crispy bread. Don’t be shy; the more, the merrier! Finally, garnish with chopped fresh herbs like parsley or chives. This adds a pop of color and freshness, making your dish not just tasty but beautiful too!
Tips for Success
- Use high-quality grass-fed bone marrow for the best flavor and nutrition.
- Don’t rush the toasting process; crispy bread is key to a great texture.
- Experiment with different herbs for garnishing to find your favorite flavor combination.
- Serve immediately for the best taste; the marrow is best enjoyed warm.
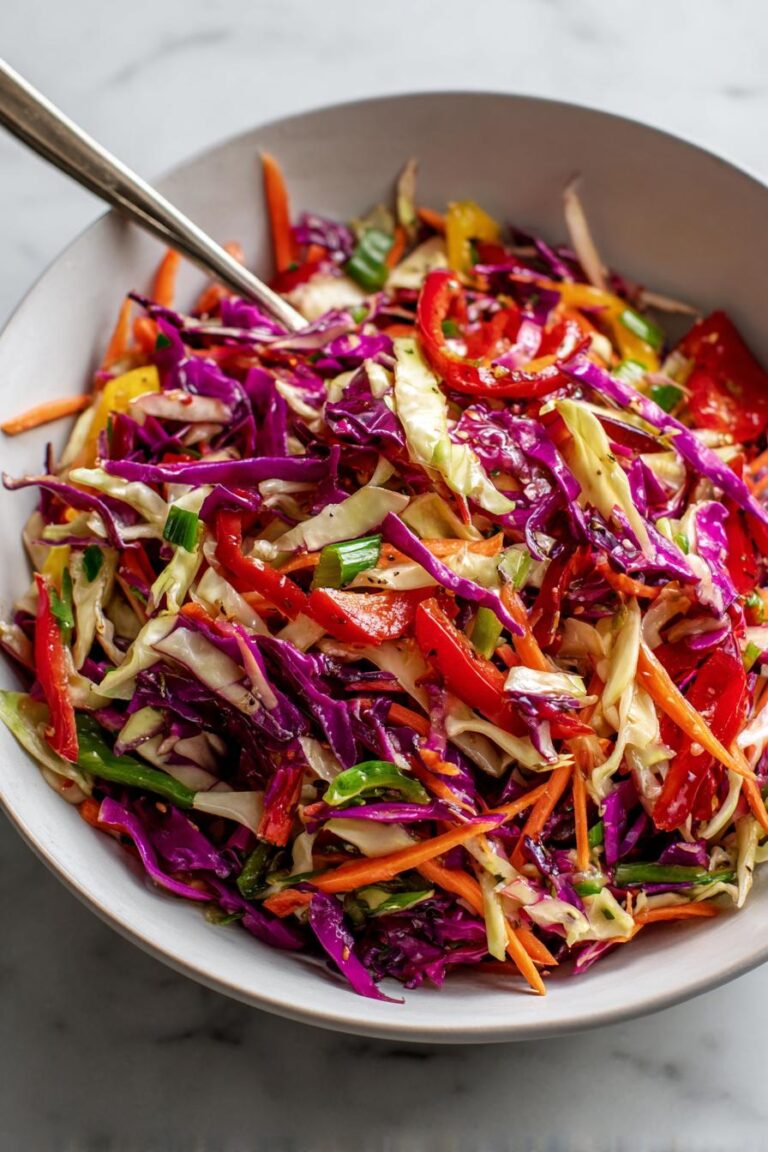
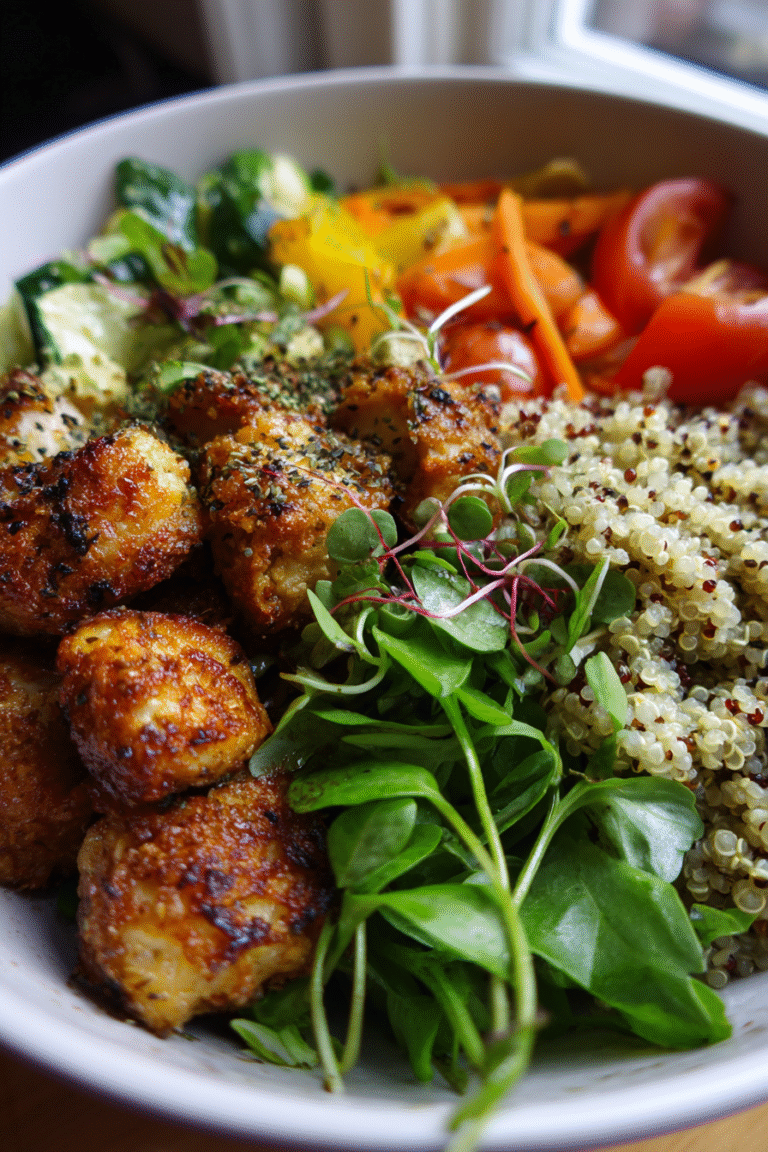
- Pair with a light salad or pickled veggies for a balanced meal.
Equipment Needed
- Baking Dish: A glass or ceramic dish works well. If you don’t have one, a cast-iron skillet is a great alternative.
- Toaster or Skillet: For toasting the bread, a toaster is convenient, but a skillet gives you more control over crispiness.
- Knife: A sharp knife is essential for spreading the marrow smoothly.
Variations of Grass-Fed Bone Marrow Toast
- Garlic Herb Marrow: Mix minced garlic and fresh herbs into the marrow before baking for an aromatic twist.
- Spicy Kick: Add a sprinkle of red pepper flakes or a dash of hot sauce to the marrow for a spicy flavor boost.
- Cheesy Delight: Top the marrow with grated Parmesan or Gruyère cheese during the last few minutes of baking for a cheesy crust.
- Vegan Option: Substitute the bone marrow with a rich mushroom pâté for a plant-based alternative that still delivers on flavor.
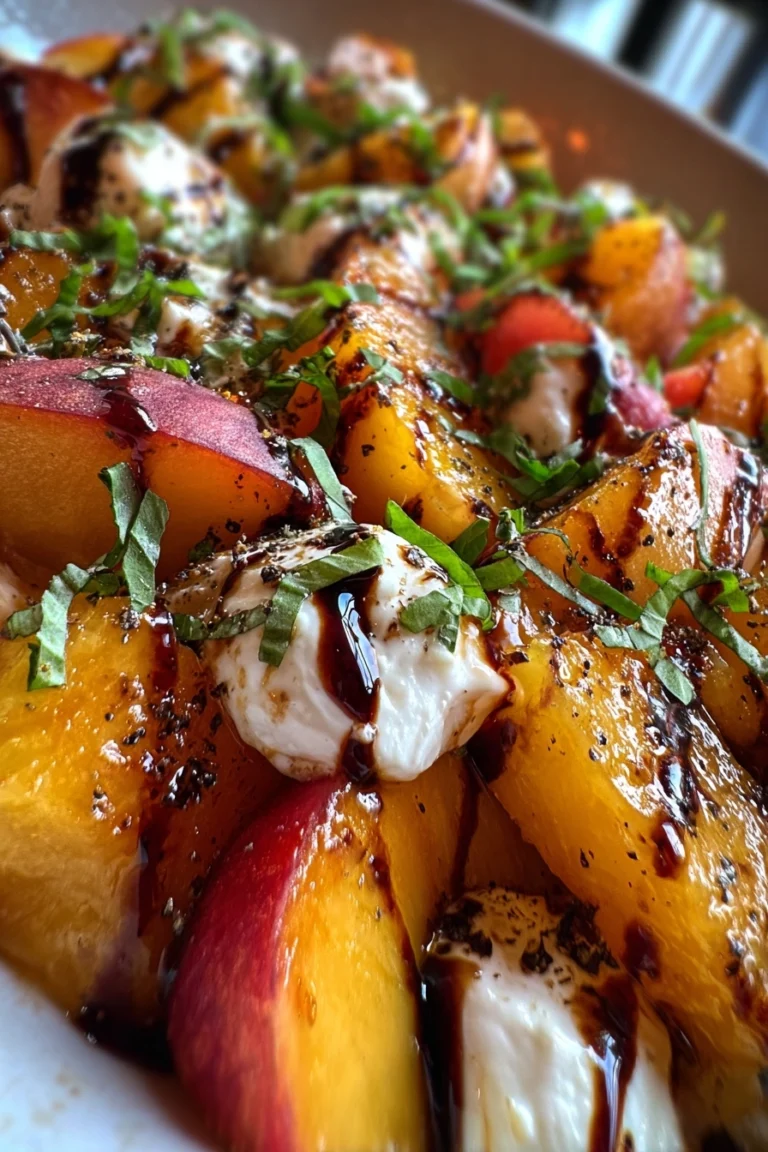
- Sweet and Savory: Drizzle a bit of honey over the marrow before serving for a delightful contrast to the savory flavors.
Serving Suggestions for Grass-Fed Bone Marrow Toast
- Light Salad: Pair with a simple arugula or mixed greens salad dressed with lemon vinaigrette for a refreshing contrast.
- Pickled Vegetables: Serve alongside pickled cucumbers or radishes to add a tangy crunch.
- Wine Pairing: A glass of crisp white wine, like Sauvignon Blanc, complements the richness beautifully.
- Presentation: Serve on a wooden board for a rustic touch, garnished with extra herbs for color.
FAQs about Grass-Fed Bone Marrow Toast
Can I use regular bone marrow instead of grass-fed?
While you can use regular bone marrow, grass-fed options are richer in nutrients and flavor. They also tend to be more ethically sourced, making them a healthier choice for you and the environment.
How do I store leftovers of Grass-Fed Bone Marrow Toast?
If you have leftovers, store the marrow and bread separately. Keep the marrow in an airtight container in the fridge for up to three days. Reheat it gently before spreading on fresh toast for the best taste.
Can I make Grass-Fed Bone Marrow Toast ahead of time?
While it’s best enjoyed fresh, you can prepare the bone marrow in advance. Just bake it, let it cool, and store it in the fridge. When you’re ready to serve, reheat and toast the bread for a quick appetizer.
What can I serve with Grass-Fed Bone Marrow Toast?
This dish pairs wonderfully with a light salad, pickled vegetables, or even a glass of crisp white wine. The contrast of flavors enhances the overall experience!
Is Grass-Fed Bone Marrow Toast gluten-free?
The dish itself is gluten-free if you use gluten-free bread. Just check the label to ensure it meets your dietary needs. Enjoy this delicious treat without worry!
Final Thoughts
Making Grass-Fed Bone Marrow Toast is more than just cooking; it’s an experience that brings joy to the table. The rich, buttery flavor combined with the satisfying crunch of crispy bread creates a delightful harmony that’s hard to resist. Whether you’re sharing it with loved ones or enjoying it solo, this dish elevates any occasion. Plus, it’s a fantastic way to nourish your body while indulging your taste buds. So, roll up your sleeves, gather your ingredients, and let this delicious toast become a cherished part of your culinary adventures!
PrintGrass-Fed Bone Marrow Toast: A Delicious Nutrition Boost!
Grass-Fed Bone Marrow Toast is a nutritious and delicious dish that combines the rich flavors of bone marrow with crispy toast, making it a perfect appetizer or snack.
- Prep Time: 10 minutes
- Cook Time: 20 minutes
- Total Time: 30 minutes
- Yield: 2 servings 1x
- Category: Appetizer
- Method: Baking
- Cuisine: American
- Diet: Gluten Free
Ingredients
- 2 slices of crusty bread
- 1 cup grass-fed bone marrow
- 1 tablespoon olive oil
- Salt to taste
- Freshly ground black pepper to taste
- Chopped fresh herbs (such as parsley or chives) for garnish
Instructions
- Preheat the oven to 400°F (200°C).
- Place the bone marrow in a baking dish and drizzle with olive oil, then season with salt and pepper.
- Bake the bone marrow for about 15-20 minutes, or until it is bubbly and golden.
- While the marrow is baking, toast the slices of bread until they are crispy.
- Once the bone marrow is done, spread it generously on the toasted bread.
- Garnish with chopped fresh herbs before serving.
Notes
- For added flavor, you can add garlic or lemon juice to the bone marrow before baking.
- Serve immediately for the best taste and texture.
- This dish pairs well with a light salad or pickled vegetables.
Nutrition
- Serving Size: 1 slice
- Calories: 250
- Sugar: 0g
- Sodium: 150mg
- Fat: 20g
- Saturated Fat: 8g
- Unsaturated Fat: 10g
- Trans Fat: 0g
- Carbohydrates: 15g
- Fiber: 1g
- Protein: 10g
- Cholesterol: 30mg