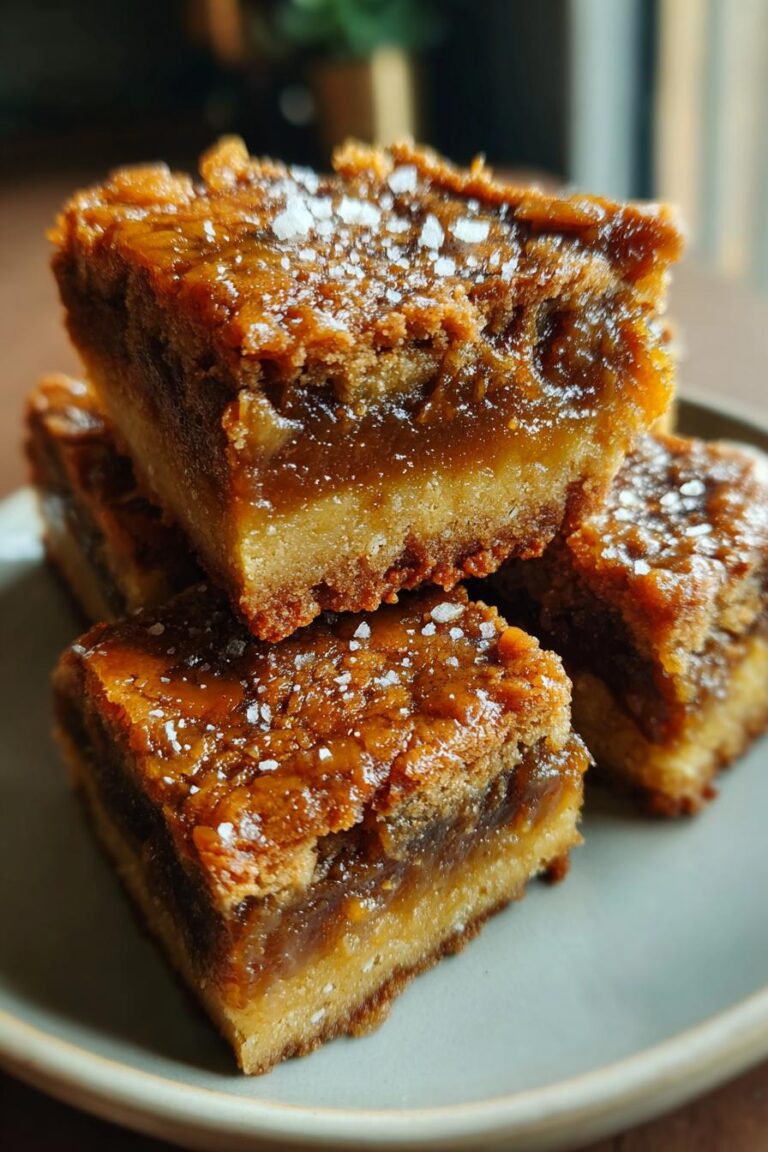
Low Sugar Blueberry Crumble Bars with just 8g Sugar
You know that moment when you’re craving something sweet but don’t want to crash from a sugar overload? That’s exactly why I created these low sugar blueberry crumble bars! After one too many “healthy” desserts that tasted like cardboard, I became obsessed with making treats that actually satisfy without all the refined sugar. These bars are my proudest creation – buttery oat crust, juicy blueberry filling, and that perfect crumbly topping that makes you go “wow” with every bite.
The secret is using just enough natural sweetness from coconut sugar and honey to let the blueberries shine. I’ve made these for every summer picnic and brunch since perfecting the recipe, and no one ever guesses they’re low sugar. My neighbor’s kids even begged for seconds last week – that’s when I knew I had to share this magic with you!
Why You’ll Love These Low Sugar Blueberry Crumble Bars
Let me tell you why these bars have become my go-to dessert (and breakfast, if I’m being honest!):
- Actually healthy – No refined sugar, just coconut sugar and a touch of honey to let those gorgeous blueberries shine
- Crazy easy – One bowl for the crust, one for the filling, and you’re done in under an hour
- Texture heaven – That buttery oat crumble topping? It’s the perfect contrast to the jammy blueberry center
- No guilt – At just 8g of sugar per bar, you can enjoy seconds without that sugar crash
- Kid-approved – My toughest critics (aka my niece and nephew) gobble these up every time
Trust me, these disappear faster than you can say “just one more bite!”
Ingredients for Low Sugar Blueberry Crumble Bars
Here’s what you’ll need to make these incredible bars – and yes, every ingredient matters! I’ve learned through trial and error that precise measurements and prep make all the difference with healthy baking.
- 1.5 cups rolled oats – The heartier the better! I love the texture they give the crust
- 1 cup whole wheat flour (spooned and leveled) – This is key – don’t pack it or you’ll get dense bars
- 1/4 cup coconut sugar – My favorite natural sweetener with that lovely caramel note
- 1/2 tsp cinnamon – Just enough to add warmth without overpowering the berries
- 1/4 tsp salt – Don’t skip this – it balances all the flavors beautifully
- 1/2 cup melted coconut oil (cooled slightly) – Measure after melting, and let it cool so it doesn’t cook the oats
- 2 cups fresh blueberries (washed and patted dry) – Trust me, taking time to dry them prevents a soggy filling
- 1 tbsp lemon juice – Freshly squeezed makes the blueberries pop with flavor
- 1 tbsp cornstarch – Our secret weapon against runny filling
- 1 tbsp honey – Just enough to enhance the berries’ natural sweetness
A quick tip from my many kitchen experiments: if your coconut oil is solid, melt it gently on low heat – burnt oil will ruin the whole batch. And always, always wash and dry those blueberries thoroughly – I learned that the messy way!
Equipment You’ll Need
Don’t worry – you won’t need any fancy gadgets for these bars! Here’s what I always grab from my kitchen:
- 8×8 baking pan – My trusty square pan gives the perfect thickness
- Parchment paper – Lifesaver for easy removal (no stuck-on crust disasters!)
- Two mixing bowls – One for the crust, one for the blueberry filling
- Spatula – For mixing and scraping every last bit of that delicious crust
- Measuring cups/spoons – Precision matters with low sugar baking
That’s it! Simple tools for seriously delicious results.
How to Make Low Sugar Blueberry Crumble Bars
Alright, let’s get baking! These bars come together in three simple steps – but I’ll walk you through each one so you get perfect results every time. Trust me, I’ve made every mistake possible with this recipe so you don’t have to!
Step 1: Prepare the Crust
First things first – preheat that oven to 350°F. While it’s heating up, grab your biggest mixing bowl and toss in the oats, whole wheat flour, coconut sugar, cinnamon, and salt. Give it a good whisk – you want those dry ingredients completely combined.
Now pour in that melted (but slightly cooled) coconut oil. Here’s my trick: use a fork to mix it in until you’ve got a crumbly texture that holds together when you pinch it between your fingers. If it’s too dry, add another teaspoon of oil. Too wet? A sprinkle more oats.
Take about 2/3 of this mixture and press it firmly into your parchment-lined pan. I mean really press it – use the bottom of a measuring cup to get an even layer. This crust needs to be sturdy enough to hold all those juicy blueberries!
Step 2: Make the Blueberry Filling
In your second bowl, gently toss those beautiful blueberries with lemon juice, cornstarch, and honey. The cornstarch is crucial here – it’s what keeps your filling from turning into blueberry soup in the oven!
Pro tip: let this mixture sit for 5 minutes while you clean up. You’ll notice the berries start to glisten as the cornstarch coats them – that’s exactly what you want. Don’t worry if some berries break a little; that just adds to the jammy texture.
Step 3: Assemble and Bake
Now the fun part! Spread your blueberry mixture evenly over the crust. Then take the remaining oat mixture and sprinkle it over the top – no need to press this time, just let it fall where it may for that perfect crumbly texture.
Pop it in the oven for 35-40 minutes. You’ll know it’s done when the topping is golden brown and you see those blueberry juices bubbling around the edges. Here’s the hardest part: let it cool completely before cutting! I know it smells amazing, but if you cut too soon, you’ll have a gooey mess instead of perfect bars.
Once cooled, lift the parchment to remove the whole slab and cut into 9 squares. Now try not to eat them all at once – though I won’t judge if you do!
Tips for Perfect Low Sugar Blueberry Crumble Bars
After making these bars more times than I can count, here are my hard-won secrets for absolute perfection:
- Cold hands work best – If your crust mixture feels sticky, run your hands under cold water before pressing into the pan. The cooler temperature helps prevent the coconut oil from melting too much.
- Patience pays off – I know it’s tempting, but let the bars cool completely (at least 2 hours) before cutting. This sets the filling so you get clean slices instead of crumbly chaos.
- Even distribution – When sprinkling the topping, start from the edges and work inward to prevent all the crumbles from piling in the center.
- Golden brown signals – Don’t just set a timer! Peek at the 30-minute mark – you want the edges slightly darker than the center before pulling them out.
Follow these, and you’ll have bars that look as good as they taste – promise!
Ingredient Substitutions & Variations
One of my favorite things about these bars is how adaptable they are! Here are my go-to swaps when I’m out of ingredients or feeling creative:
- Gluten-free? Swap whole wheat flour for almond flour – it gives an amazing nutty flavor and keeps the texture perfect.
- No coconut sugar? Brown sugar works in a pinch, though you might want to reduce it slightly since it’s sweeter.
- Vegan option: Use maple syrup instead of honey (same amount) and you’re golden!
- Extra crunch: Toss some chopped walnuts or pecans into the crumble topping – about 1/4 cup does the trick.
The beauty is, no matter which way you tweak it, these bars still turn out delicious. My cousin swears by adding a pinch of cardamom to the filling – not traditional, but oh-so-good!
Storing and Serving Low Sugar Blueberry Crumble Bars
Here’s how I keep these bars tasting fresh and serve them like a pro! Store them in an airtight container at room temperature for up to 2 days, or pop them in the fridge if you want them to last up to 5 days (though they never last that long in my house!).
If you want to enjoy them warm, here’s my trick: microwave for just 10-15 seconds to bring back that fresh-from-the-oven feel. My favorite way to serve them? With a dollop of Greek yogurt for breakfast – it makes me feel so virtuous! For dessert, a scoop of vanilla ice cream turns them into something truly special. Just don’t tell anyone how healthy they really are!
Nutritional Information
Okay, let’s talk numbers – but don’t worry, we’re keeping this simple! Since I know you’re choosing these low sugar blueberry crumble bars to be mindful about what you’re eating, here’s the scoop on what you’re getting per bar (based on cutting into 9 servings):
Approximate nutrition per bar: 180 calories, 9g fat (mostly the good kind from coconut oil!), 24g carbs with 3g fiber to keep you satisfied, and just 8g of natural sugars. That’s less than half what you’d find in traditional dessert bars!
A quick heads up – these numbers can vary slightly depending on your exact ingredients. Did you use slightly bigger blueberries? Added those walnuts I mentioned? Your version might have a few more calories, but that’s the beauty of homemade – you know exactly what’s going into your treats!
The best part? Unlike store-bought “healthy” bars packed with weird additives, every single gram of sugar here comes from real, wholesome ingredients. That’s what I call a win-win dessert!
FAQs About Low Sugar Blueberry Crumble Bars
I get so many questions about these bars – here are the ones that pop up most often!
Can I use frozen blueberries? Absolutely! Just thaw and drain them well first – I pat them dry with paper towels to remove excess moisture. You might need an extra teaspoon of cornstarch since frozen berries release more liquid.
How to make these vegan? Easy swap – use maple syrup instead of honey (same amount) and you’re all set! The texture stays perfect.
Can I double the recipe? Yes! Use a 9×13 pan and increase baking time by 5-10 minutes. Watch for that golden brown top.
Why did my filling turn out runny? Likely didn’t cool long enough – the cornstarch needs time to set. Next time, let it rest the full 2 hours before cutting.
Can I freeze these? You bet! Wrap individual bars tightly – they’ll keep for 3 months. Thaw at room temperature when cravings strike.
Share Your Thoughts
Did you give these low sugar blueberry crumble bars a whirl in your kitchen? I’d love to hear how they turned out! Did your family go crazy for them like mine does? Maybe you put your own spin on the recipe – swapped in raspberries or added a dash of vanilla? Drop me a note below with your experience, questions, or even that hilarious kitchen fail we’ve all had (remember my first attempt when I forgot the cornstarch? Blueberry soup!). Your feedback helps me create even better recipes for all of us health-conscious dessert lovers!
PrintLow Sugar Blueberry Crumble Bars with just 8g Sugar

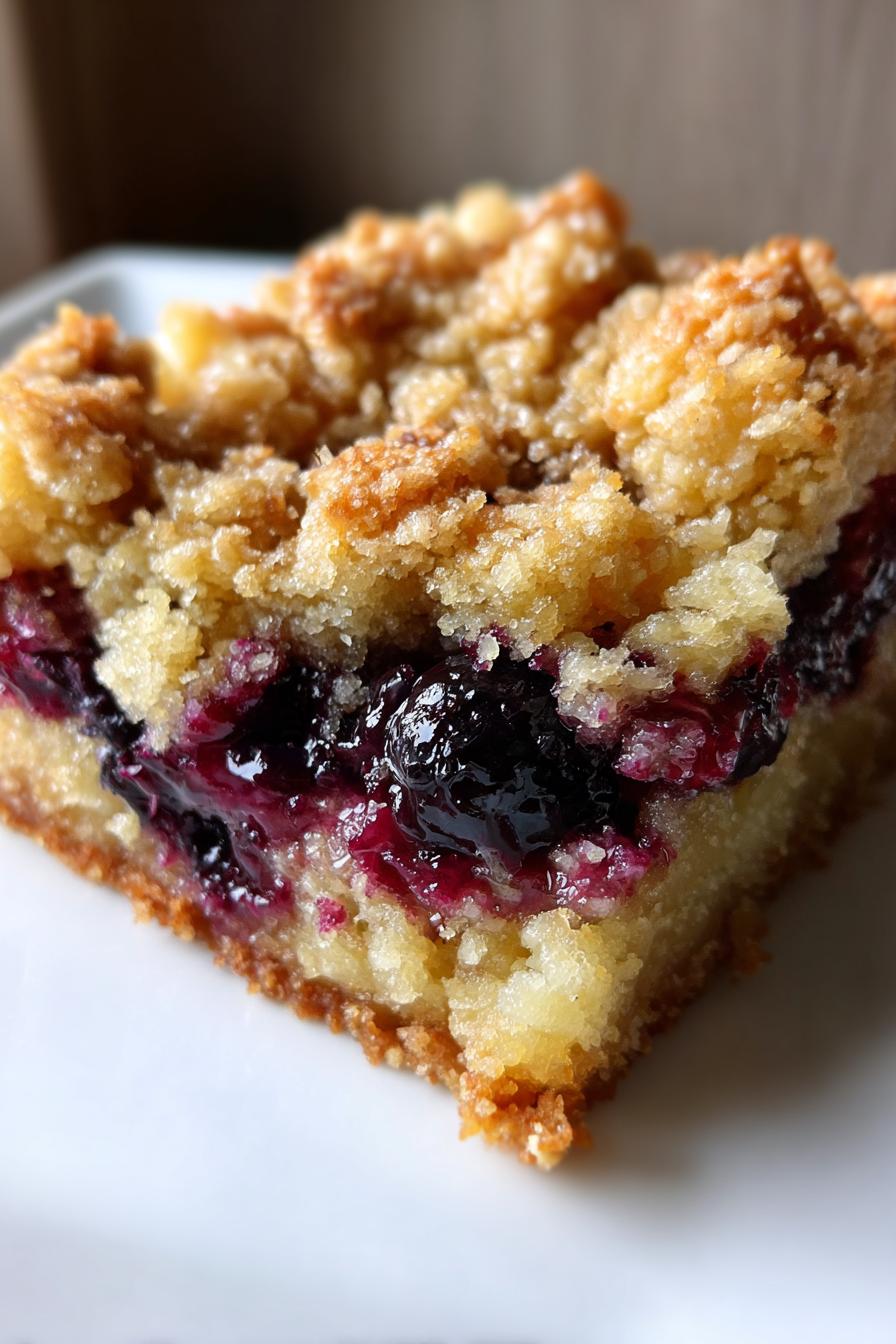
Low sugar blueberry crumble bars are a healthier dessert option. They combine a buttery oat crust, sweet blueberry filling, and a crumbly topping.
- Prep Time: 15 minutes
- Cook Time: 40 minutes
- Total Time: 55 minutes
- Yield: 9 bars 1x
- Category: Dessert
- Method: Baking
- Cuisine: American
- Diet: Low Sugar
Ingredients
- 1.5 cups rolled oats
- 1 cup whole wheat flour
- 1/4 cup coconut sugar
- 1/2 tsp cinnamon
- 1/4 tsp salt
- 1/2 cup melted coconut oil
- 2 cups fresh blueberries
- 1 tbsp lemon juice
- 1 tbsp cornstarch
- 1 tbsp honey
Instructions
- Preheat oven to 350°F. Line an 8×8 baking pan with parchment paper.
- Mix oats, flour, coconut sugar, cinnamon, and salt in a bowl.
- Add melted coconut oil and stir until crumbly.
- Press 2/3 of the mixture into the pan to form the crust.
- In another bowl, toss blueberries with lemon juice, cornstarch, and honey.
- Spread blueberry mixture over the crust.
- Sprinkle remaining oat mixture on top.
- Bake for 35-40 minutes until golden brown.
- Cool completely before cutting into bars.
Notes
- Store in an airtight container for up to 5 days.
- Frozen blueberries work if fresh aren’t available.
- Add nuts to the topping for extra crunch.
Nutrition
- Serving Size: 1 bar
- Calories: 180
- Sugar: 8g
- Sodium: 70mg
- Fat: 9g
- Saturated Fat: 7g
- Unsaturated Fat: 2g
- Trans Fat: 0g
- Carbohydrates: 24g
- Fiber: 3g
- Protein: 3g
- Cholesterol: 0mg